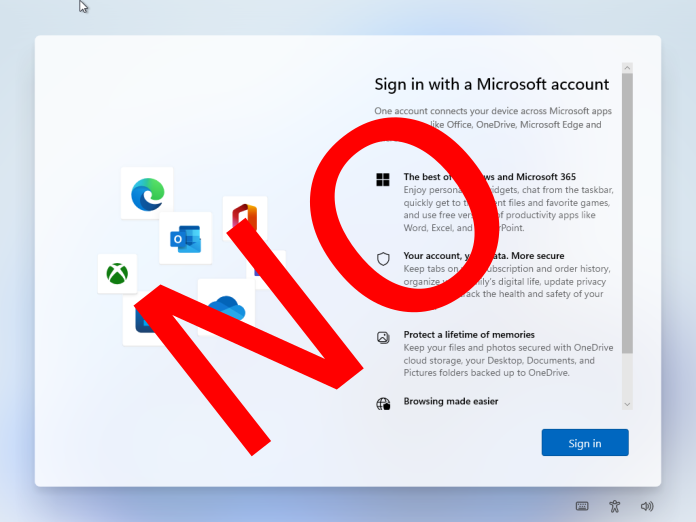
Microsoft is trying really hard to get people to use a Microsoft account to log into Windows. Every edition of Windows 10 has made it more difficult to create a local user account during Windows Setup, and their newest operating system, Windows 11, is no different.
When you’re learning to code, loops are one of those things that tend to trip people up a few times before they get the hang of it. There are a few different types of loops, but today we’re going to focus on the “for” loop.
Windows 7 will be end of life in a few months, which means it will no longer receive security updates from Microsoft. Running software, especially an operating system, that no longer receives security updates will greatly increase your chances of getting viruses or other malware on your computer. The time to upgrade Windows 7 to Windows 10 is now, and luckily Microsoft has made that process relatively simple.
If you’ve followed my previous tutorials on Creating a Ubuntu UEFI boot USB and Creating a Bootable Windows 10 UEFI USB Drive Using Linux, you’ll understand how easy it is to create UEFI USB boot drives for modern UEFI based systems. But what if we have an older system that isn’t UEFI based? It’s still pretty easy to create a bootable USB drive, the process is just a little different.
Creating a Windows 10 boot USB for UEFI used to be pretty easy. Things have changed with the October 2018 Windows 10 1809 update. Luckily it’s still pretty easy.
In a previous post on Using a Raspberry Pi For Digital Signage, I mentioned that I was using my Raspberry Pi as a display for viewing the cameras for my Zoneminder system. Since I didn’t want to put a plaintext password into a script, I was wondering if there was some other solution I could use to have the script pass the login information to the Zoneminder server. As it turns out, Zoneminder has this feature built-in!.
I have a surveillance camera system using four (cheaper) wireless cameras and Zoneminder to monitor and record events. I’ll discuss this setup in more detail in a future post. For now though, I want to describe how I set up a spare Raspberry Pi as a viewer for the four cameras. This is just loading the URL for the “montage view” in Zoneminder, which let’s you see all your cameras arranged in a grid.