How To: Upgrade Windows 7 to Windows 10
Windows 7 will be end of life in a few months, which means it will no longer receive security updates from Microsoft. Running software, especially an operating system, that no longer receives security updates will greatly increase your chances of getting viruses or other malware on your computer. The time to upgrade Windows 7 to Windows 10 is now, and luckily Microsoft has made that process relatively simple.
Table of Contents
Before you begin there are a few things you’re going to need:
- Valid Windows 10 License Key
- Make sure you purchase this from a reputable source. Buying a Windows 10 license key on Amazon for $30 when the retail price is around $190 CAD should be a red flag. Yes it’s an expensive one time cost, but don’t support software piracy and buy a legitimate copy instead please.
- Windows Media Creation Tool
- Note if you’re currently using a Windows OS, the link above will take you to the download for the media creation tool. If you’re using a non-Windows OS, the link will take you to download the ISO file instead.
Before upgrading an operating system from an older version to a newer version, always BACK UP YOUR DATA. Microsoft has made the upgrade from Windows 7 to Windows 10 surprisingly smooth, but bad things can still happen. I’ll say it again, BACK UP YOUR DATA now before you do anything else.
Method 1: Installing from the Media Creation Tool
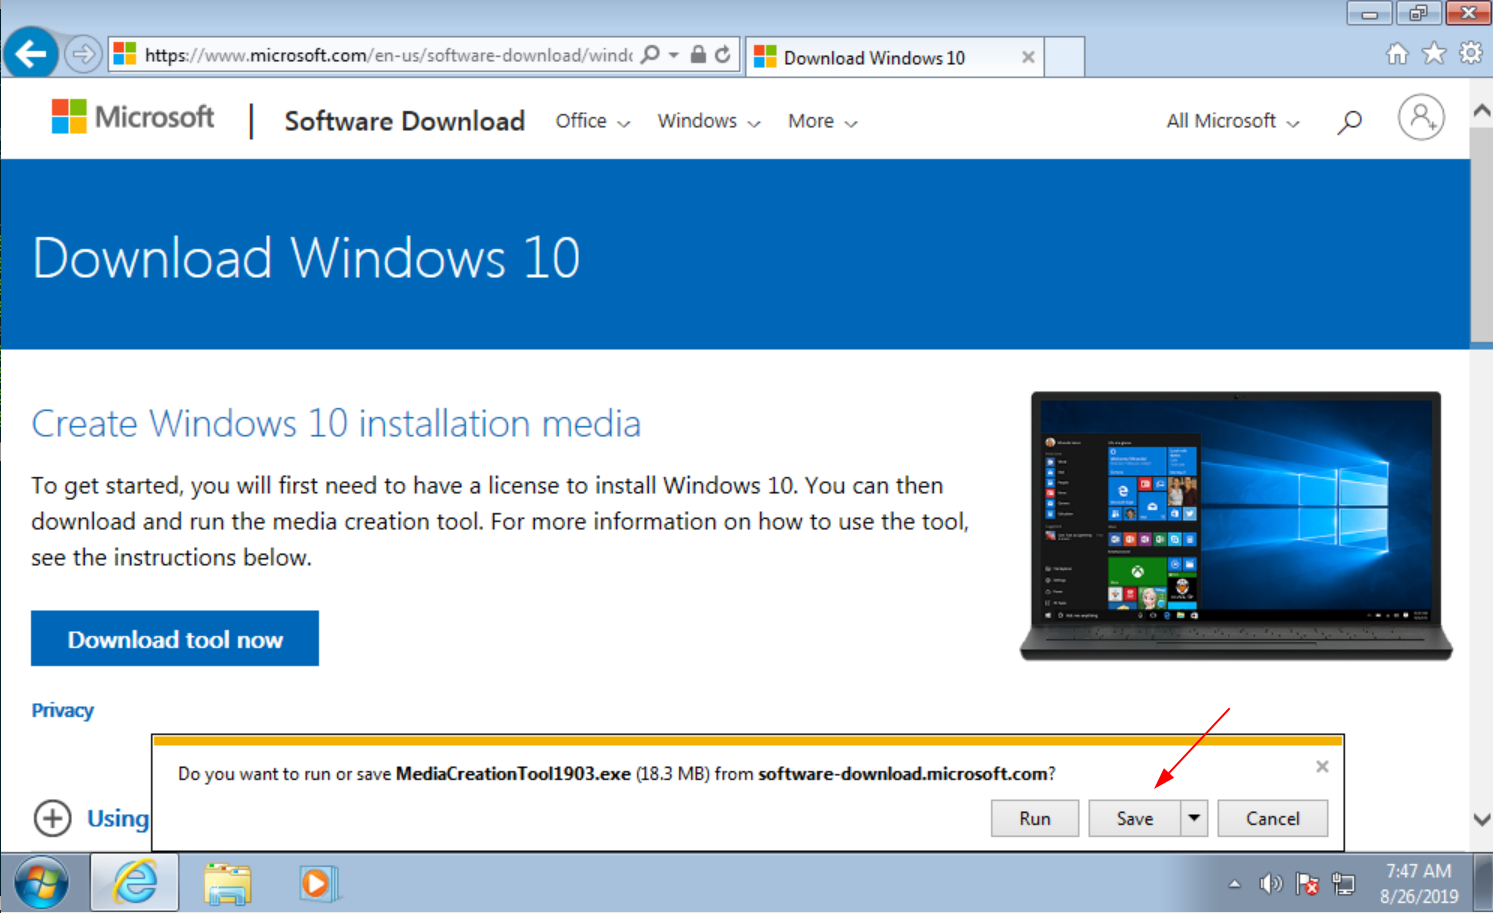
-
Save the file
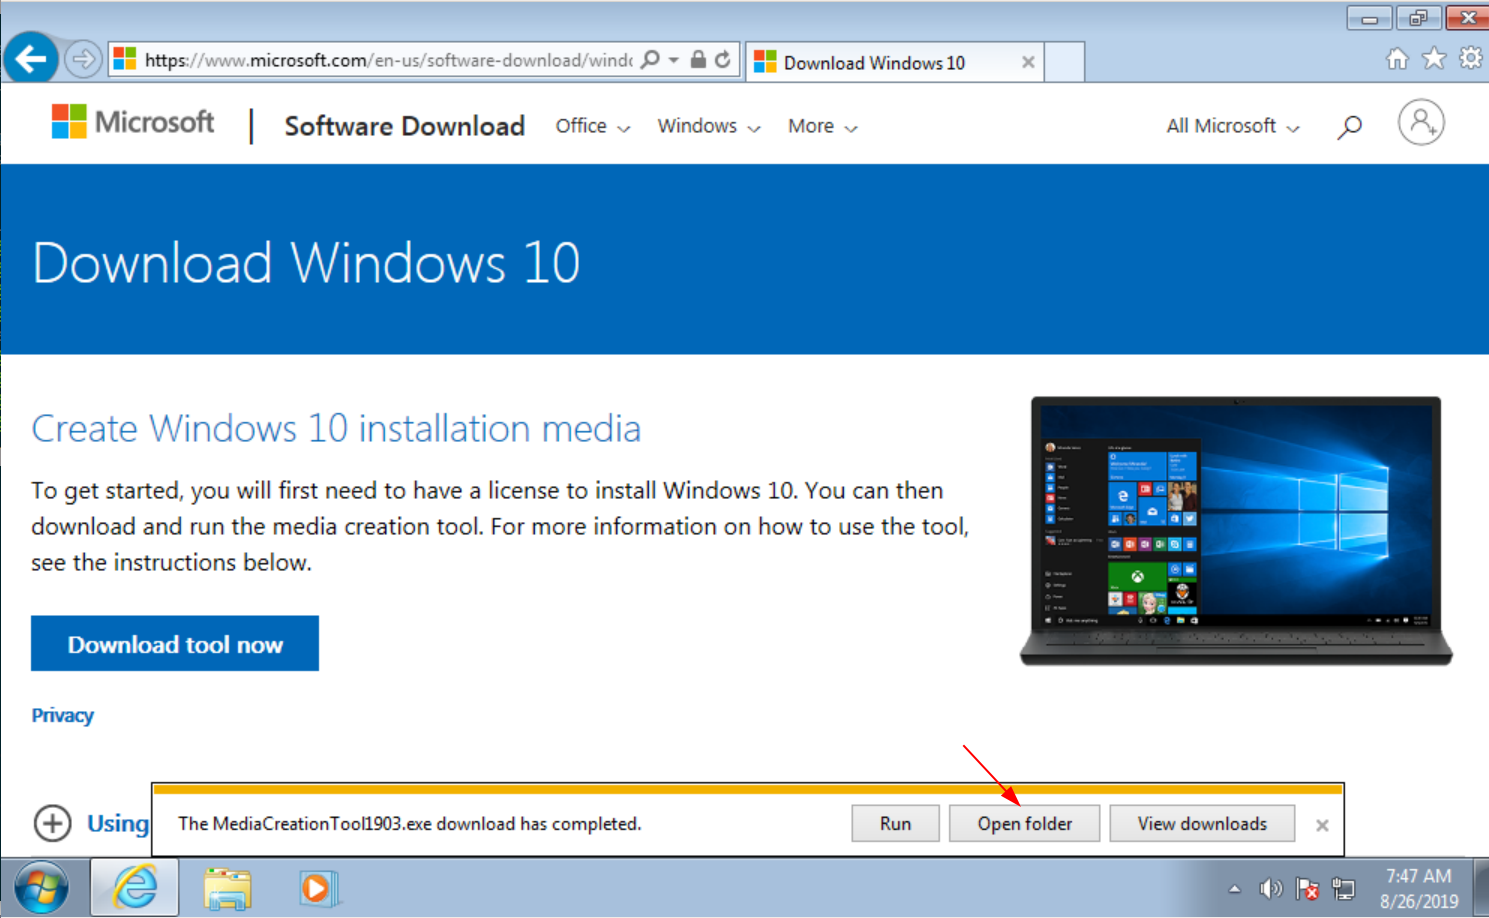
-
Open the folder where you save the Media Creation Tool
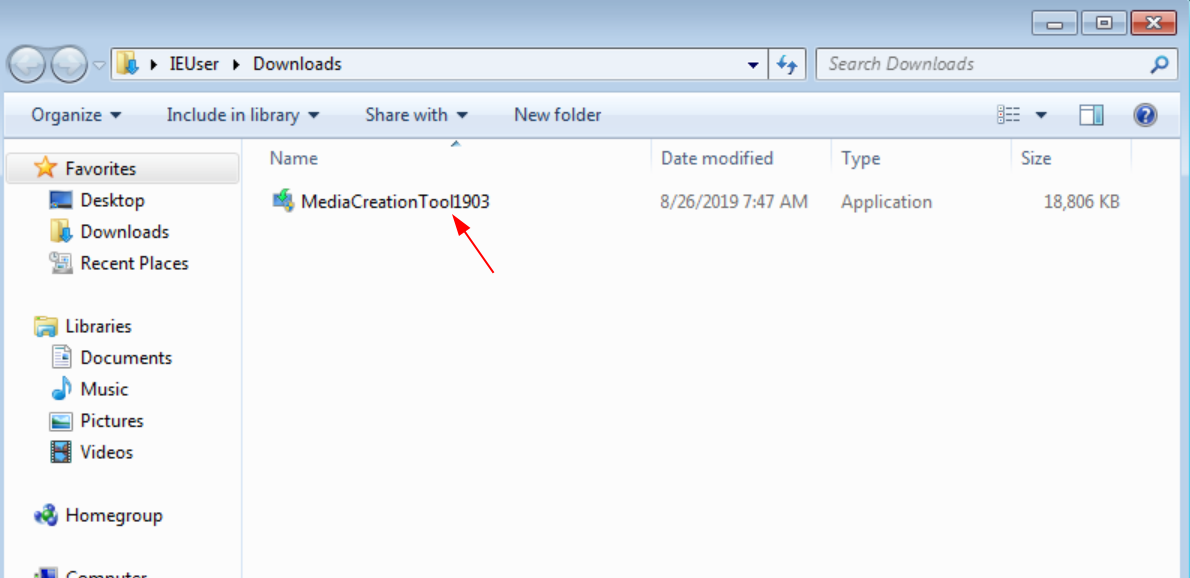
-
Double-click the Media Creation Tool to run it
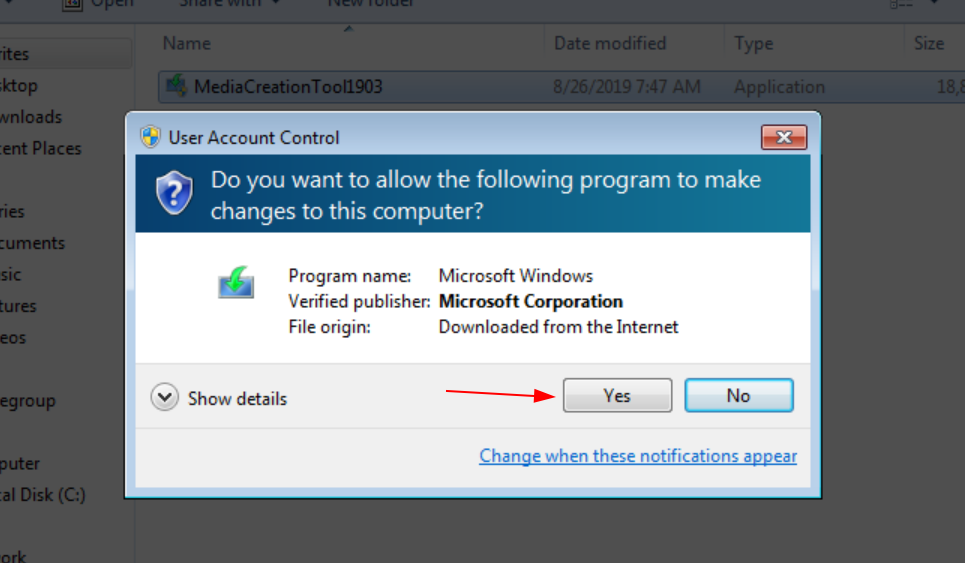
-
Click yes if prompted
-
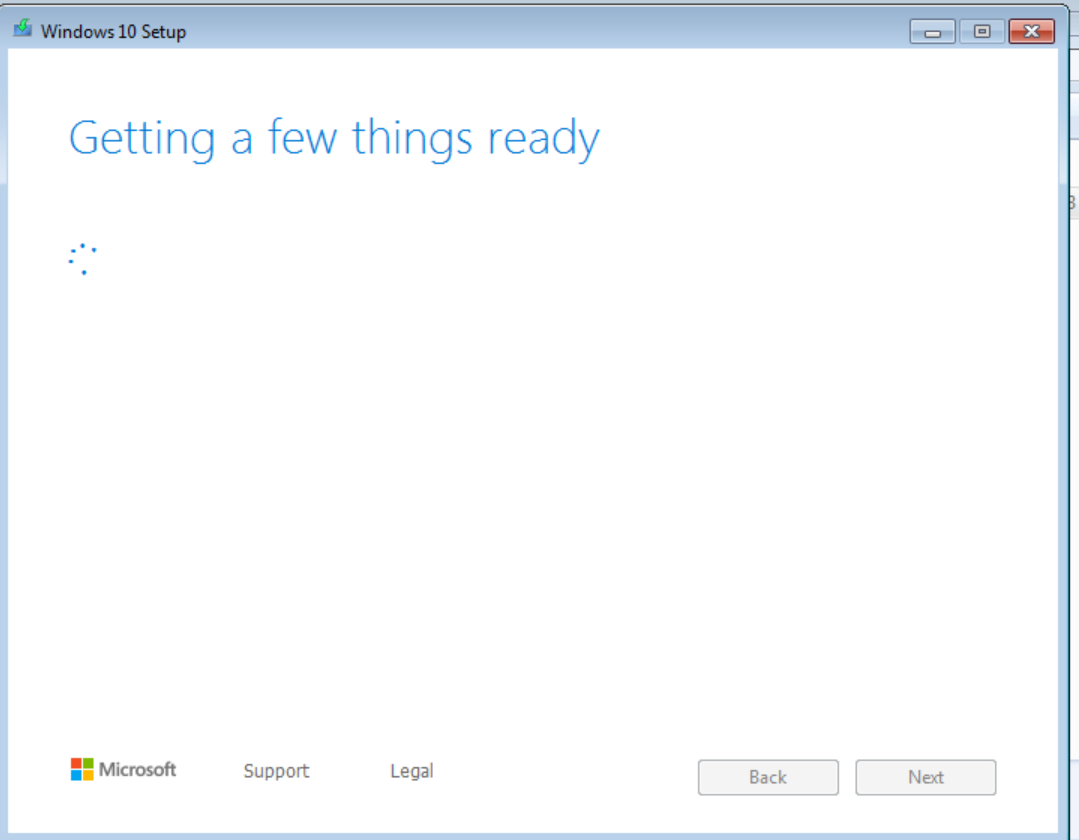
Wait for the tool to finish getting ready
-
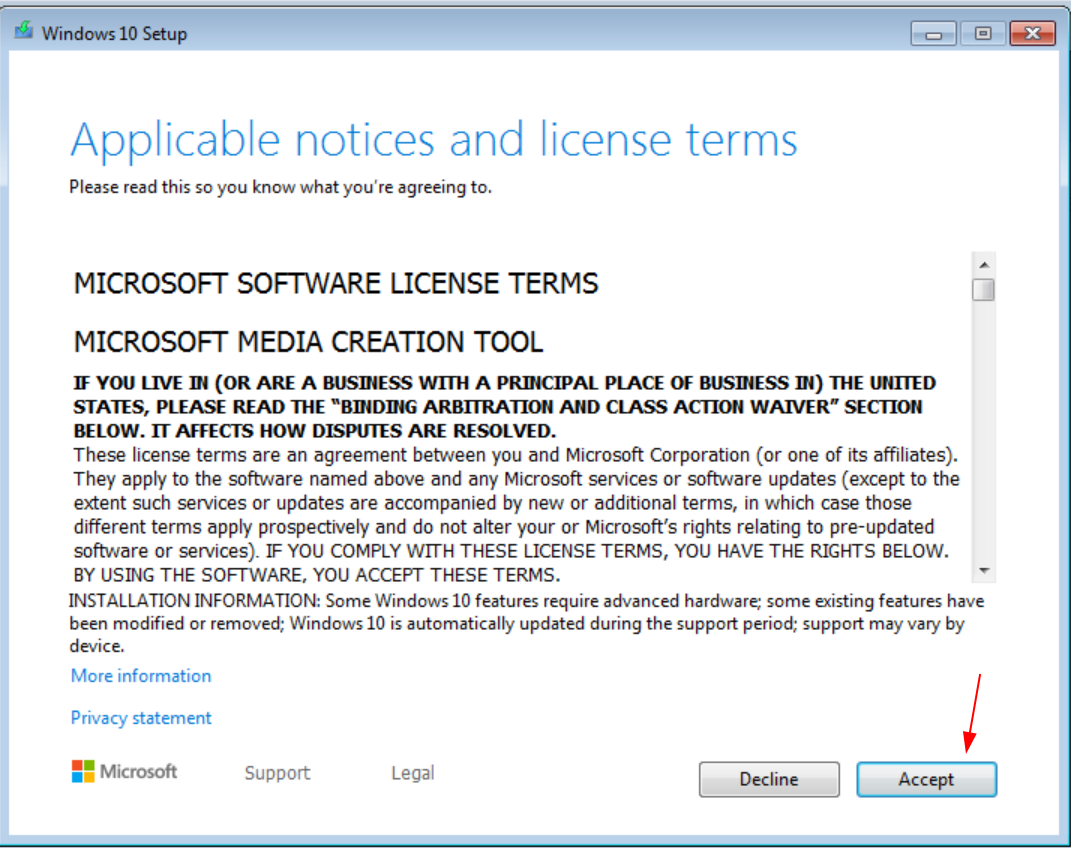
Accept the legal agreement
-
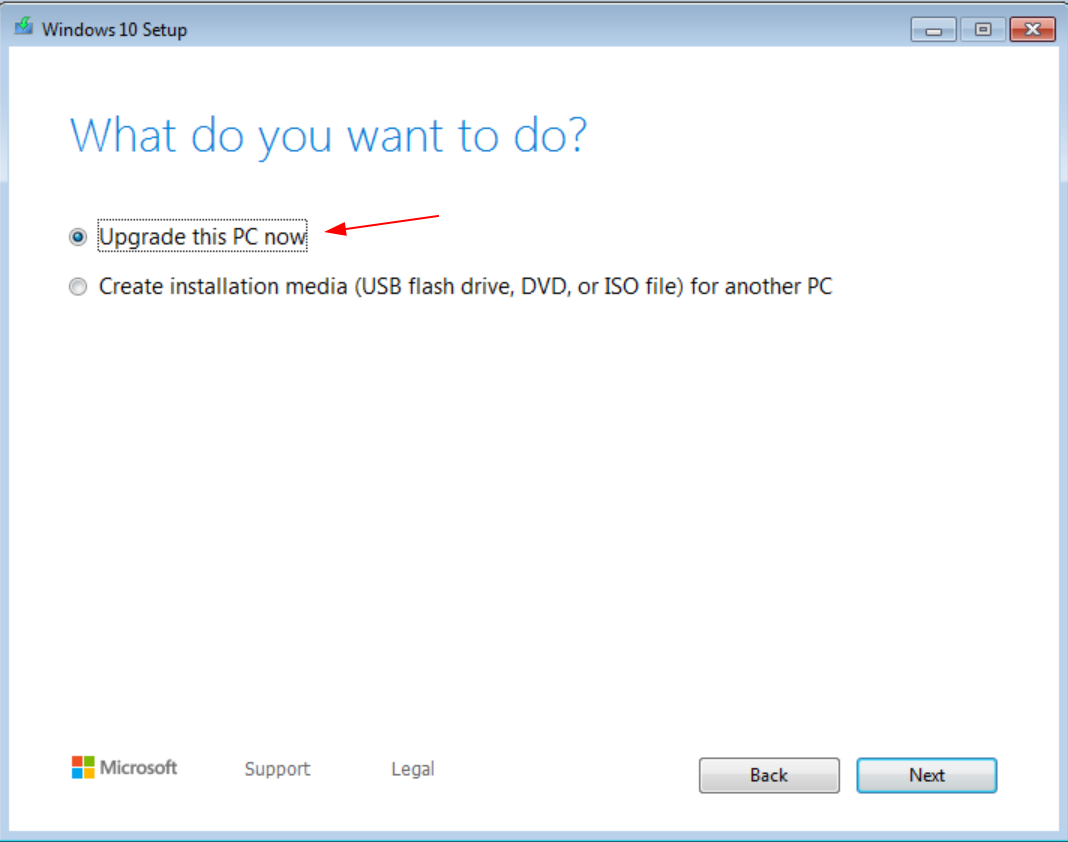
Choose Upgrade this PC Now and Click Next
Unfortunately, at this point I can’t show what happens beyond this screen. Because I was creating this tutorial using evaluation versions of Windows in a virtual machine, the media creation tool gave me an error saying that it is unable to perform the upgrade on this computer. Hopefully some of the screengrabs below from upgrading via the ISO file will be relevant to help show you the way.

Method 2: Upgrading from a Windows 10 ISO File
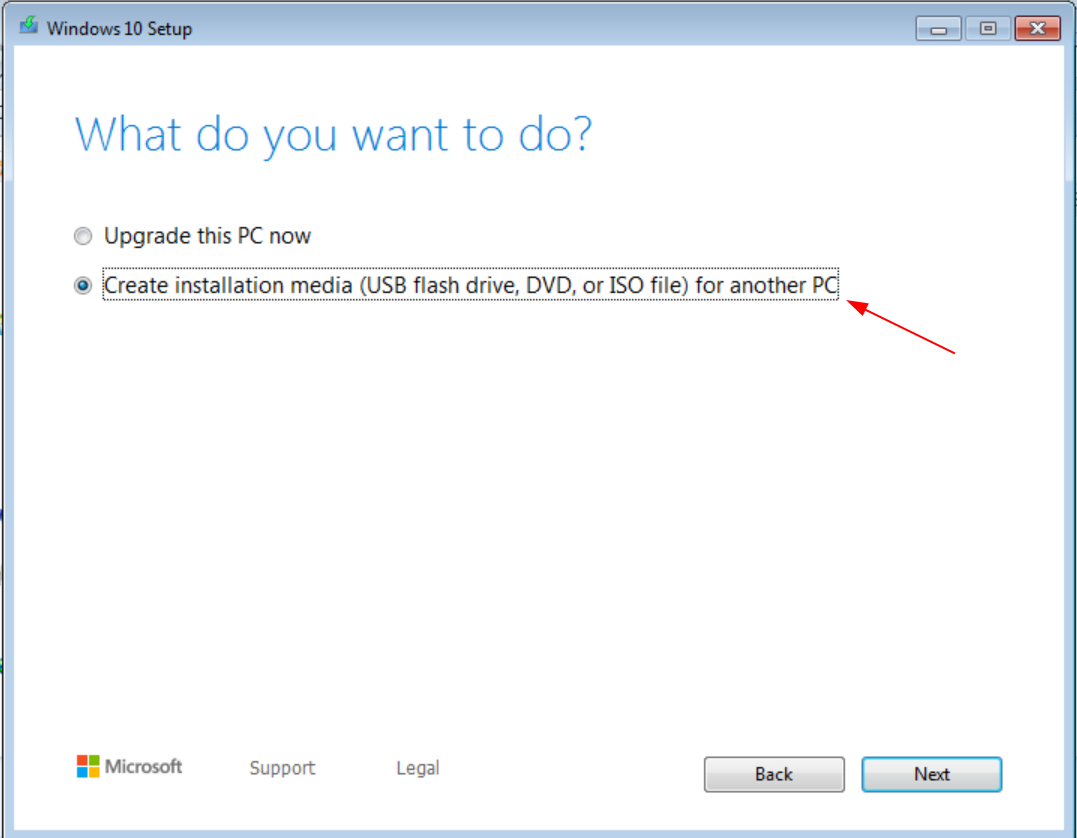
If you already have a Windows 10 ISO file, congratulations you can skip below to step number 8 to continue with the process. If you don’t have the ISO file you can continue using the media creation tool to create one. Follow the steps in Method 1 and in step 8 choose the “Create Installation Media” option as per below.
-
Choose the “Create Installation Media” option
-
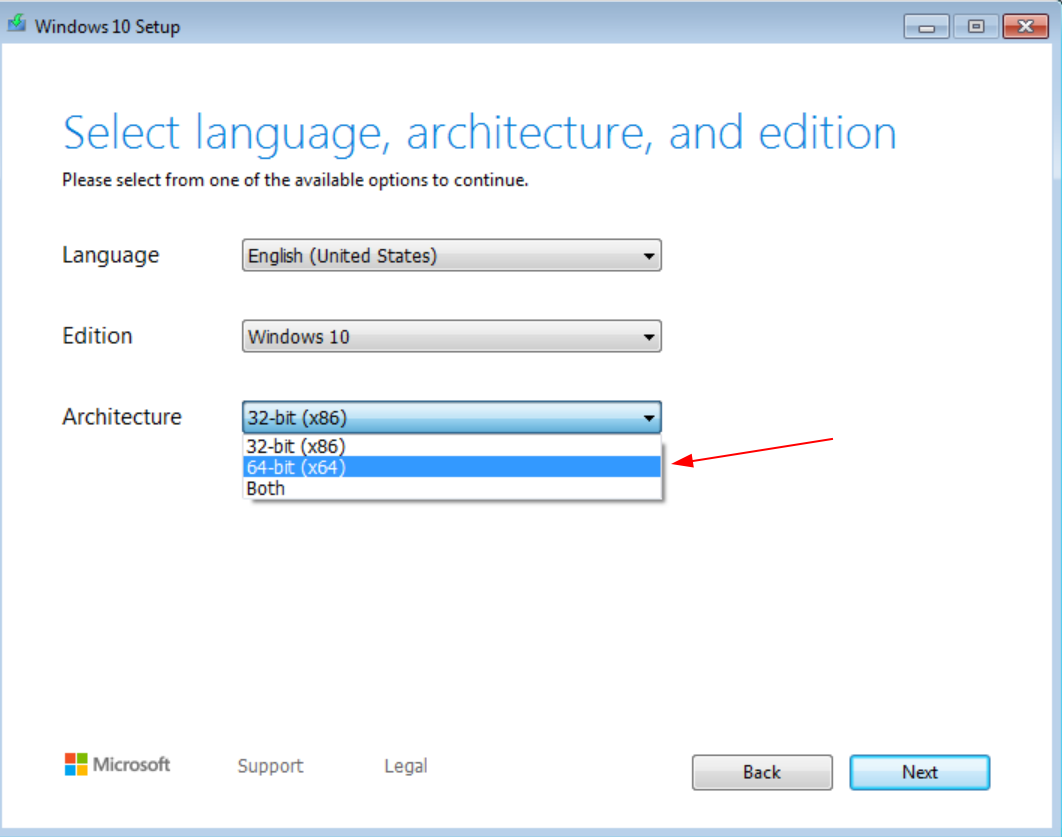
Choose the required settings. For modern PC’s you’ll want to create the 64-bit Windows 10 ISO
-
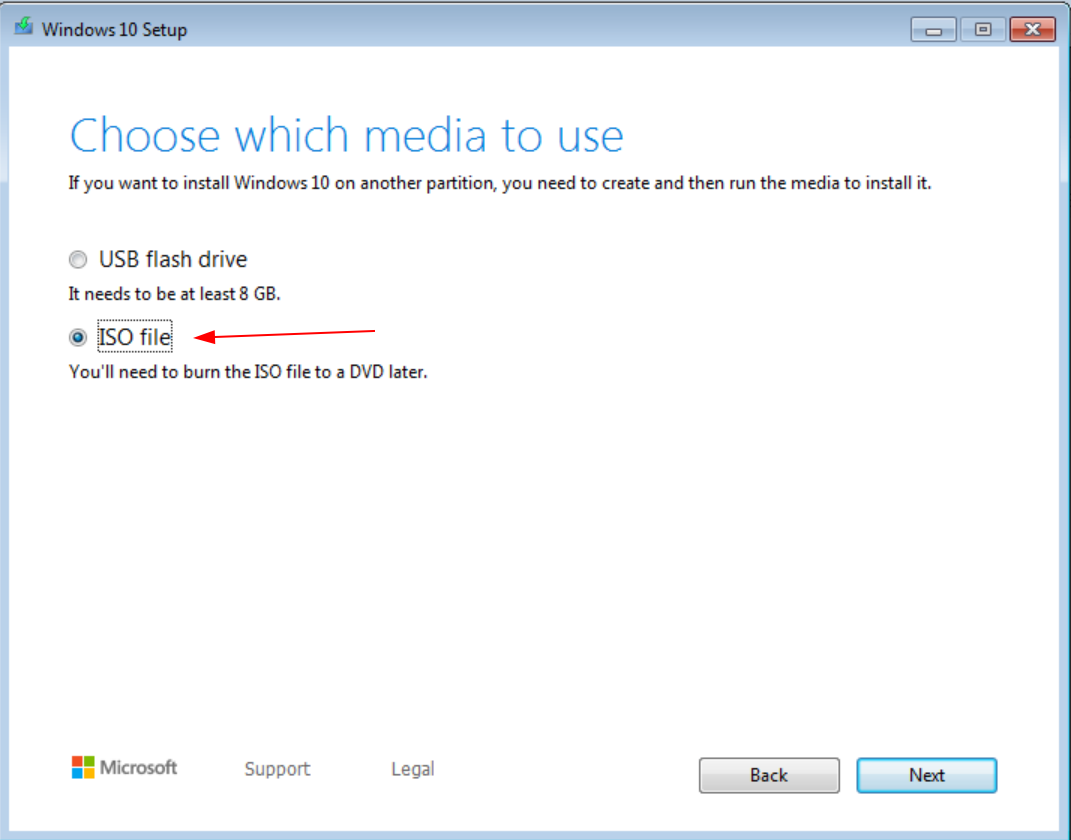
Choose ISO File
-
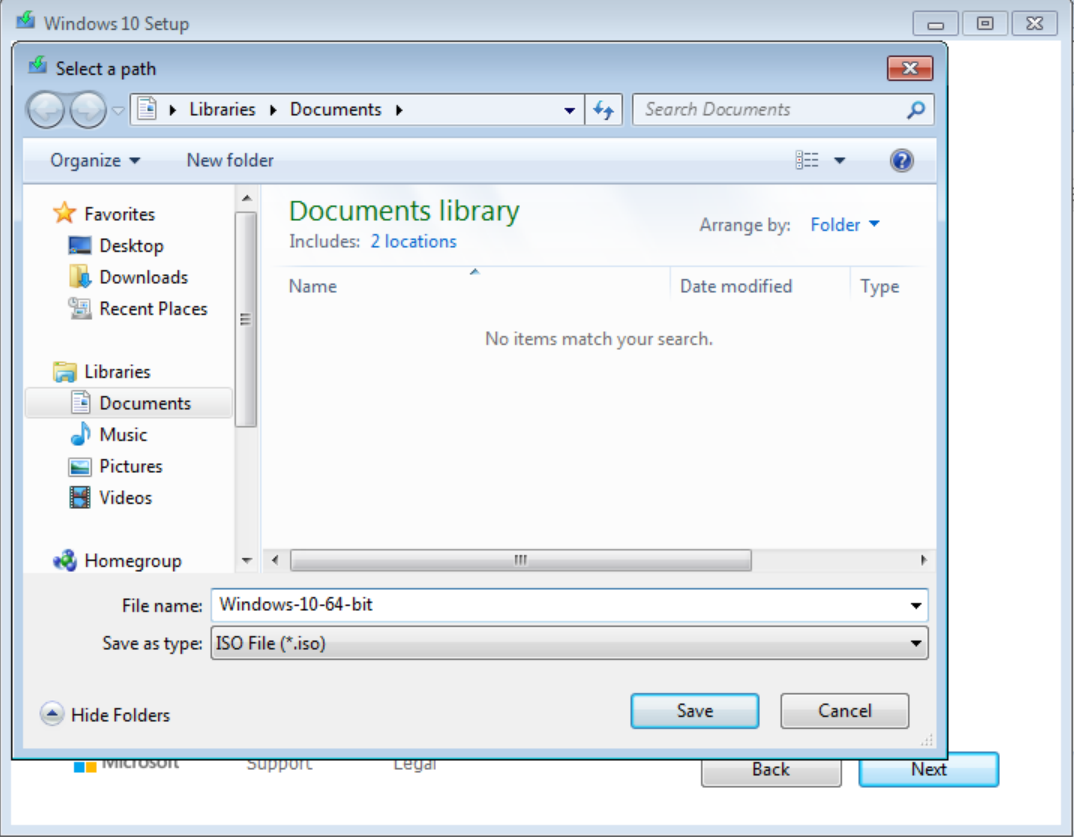
Choose a folder to put the ISO file in and give it a filename
-
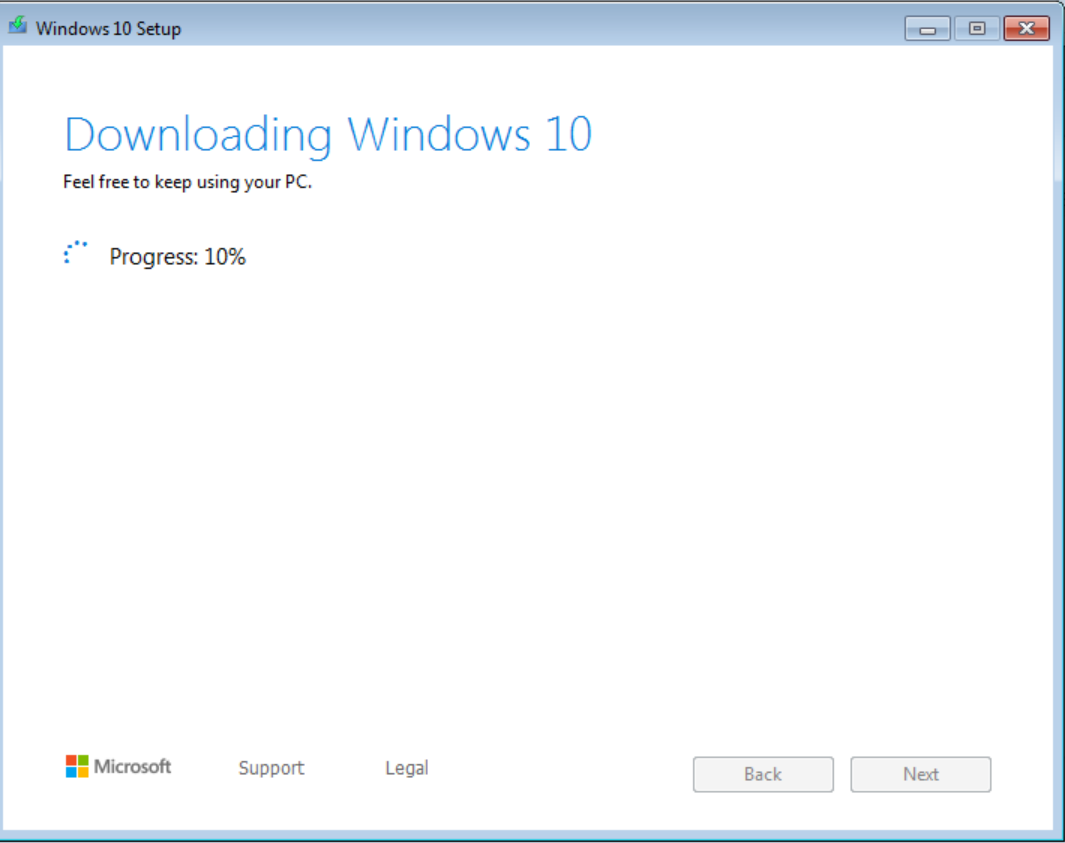
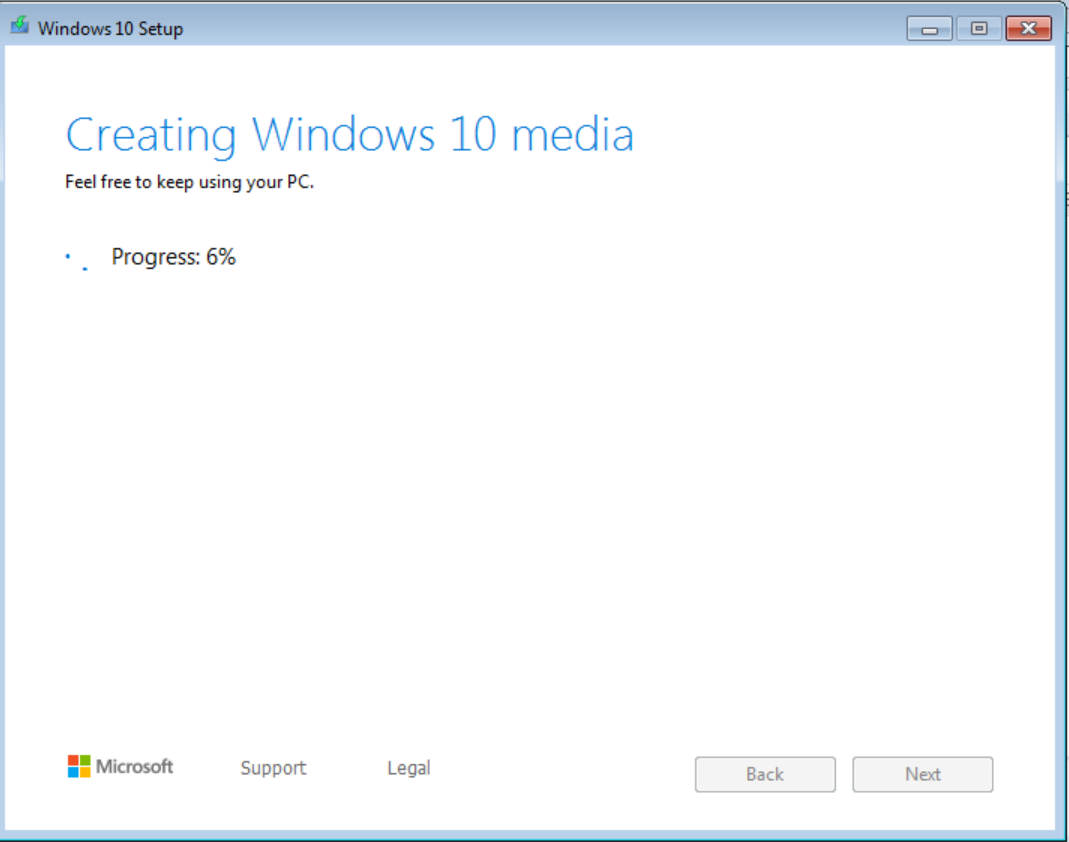
Wait while it downloads the necessary files
-
Wait while it creates the ISO file
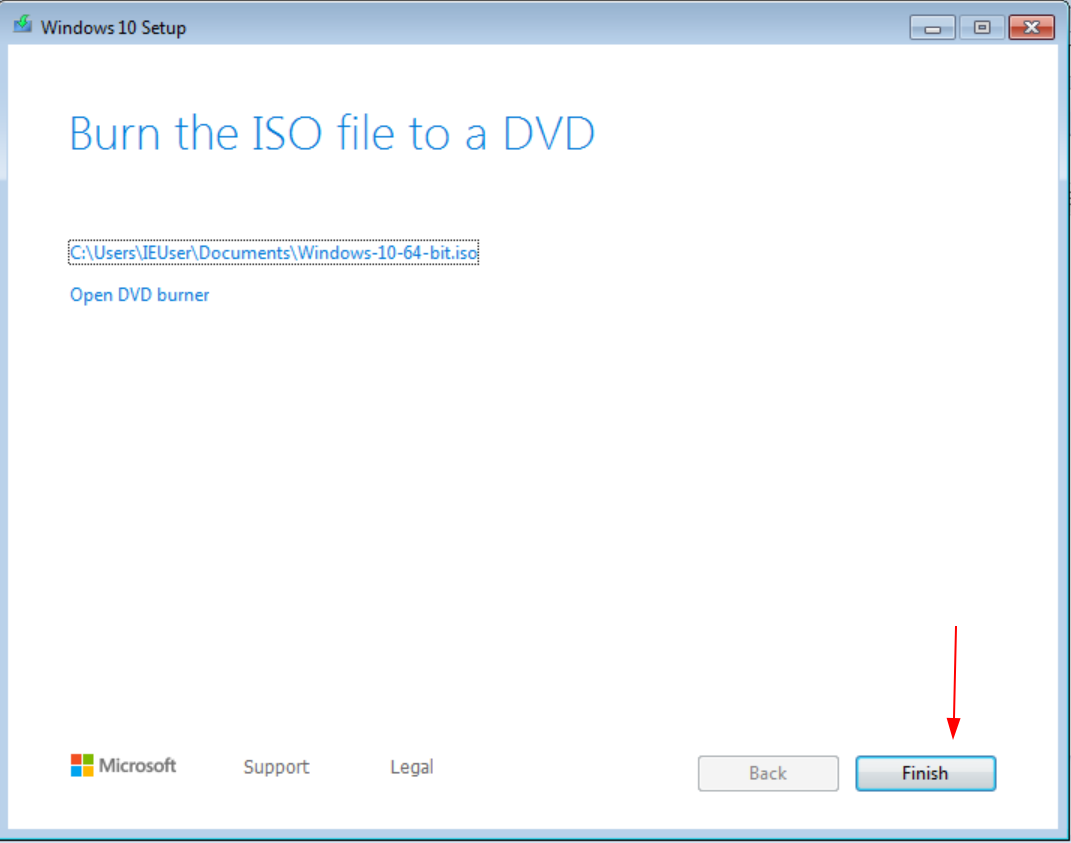
-
Click finish
-
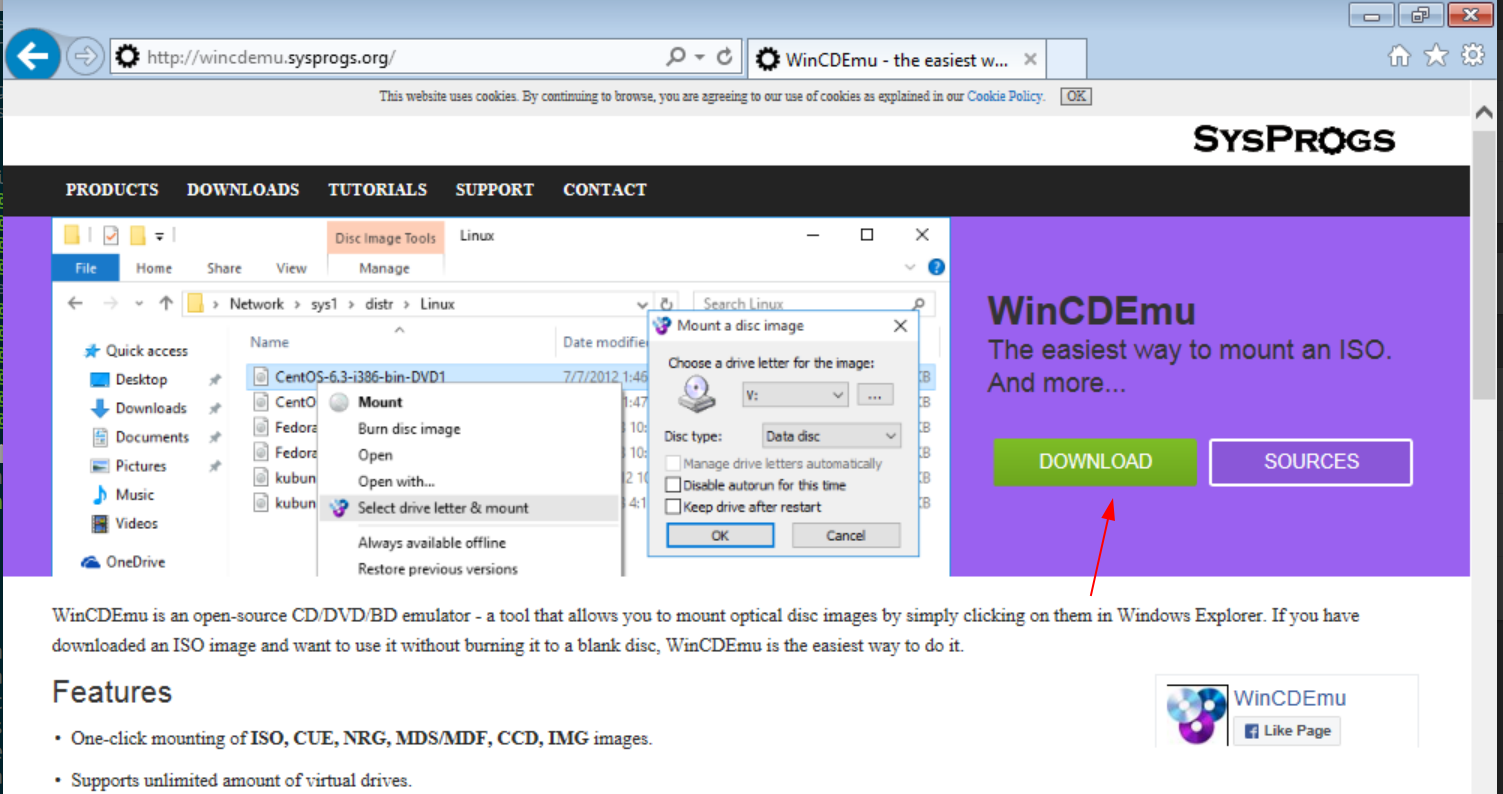
If you’re using Windows 7, you’ll need software that will let you mount ISO files to a virtual drive. Windows 8.1 and higher has this capability built in. A free and simple program to do this is called Wincdemu
-
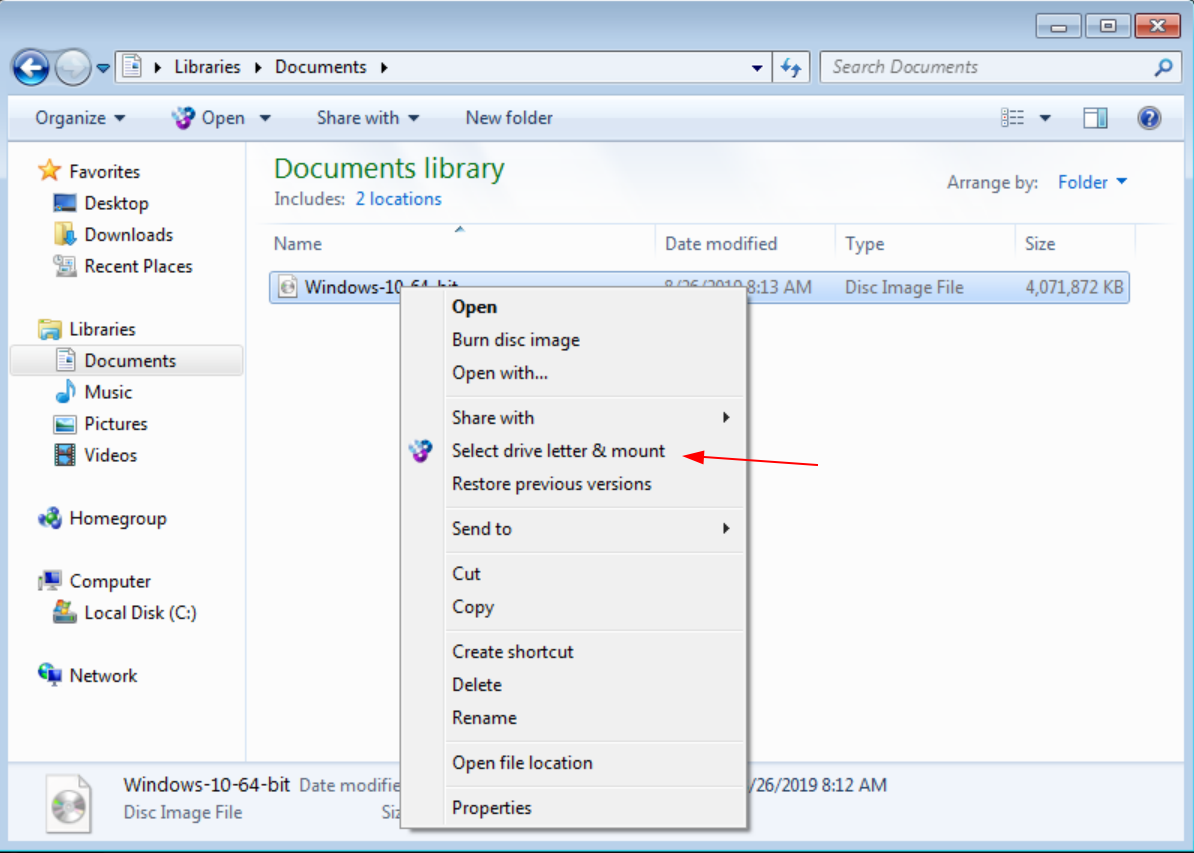
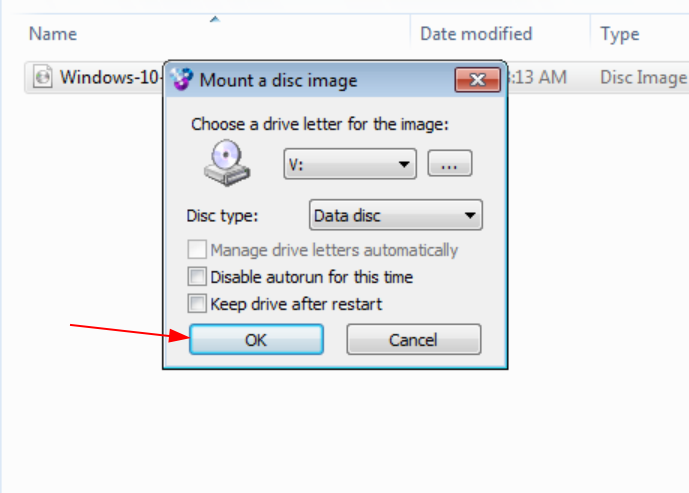
Once you have the Wincdemu software installed, open the folder where you created the ISO file. Right click the ISO file and choose “select drive letter and mount”
-
The default options are fine. Click ok to mount the ISO, in this case on drive “V:”
-
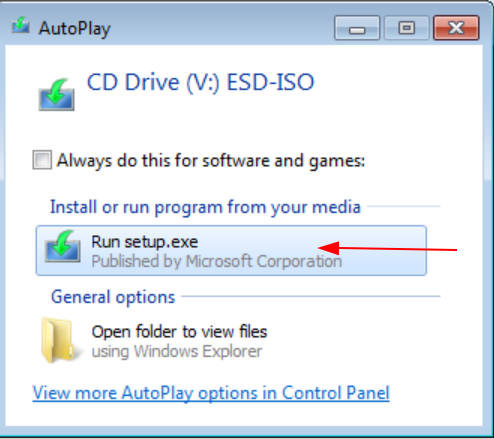
Click Run Setup when the autorun menu appears
-
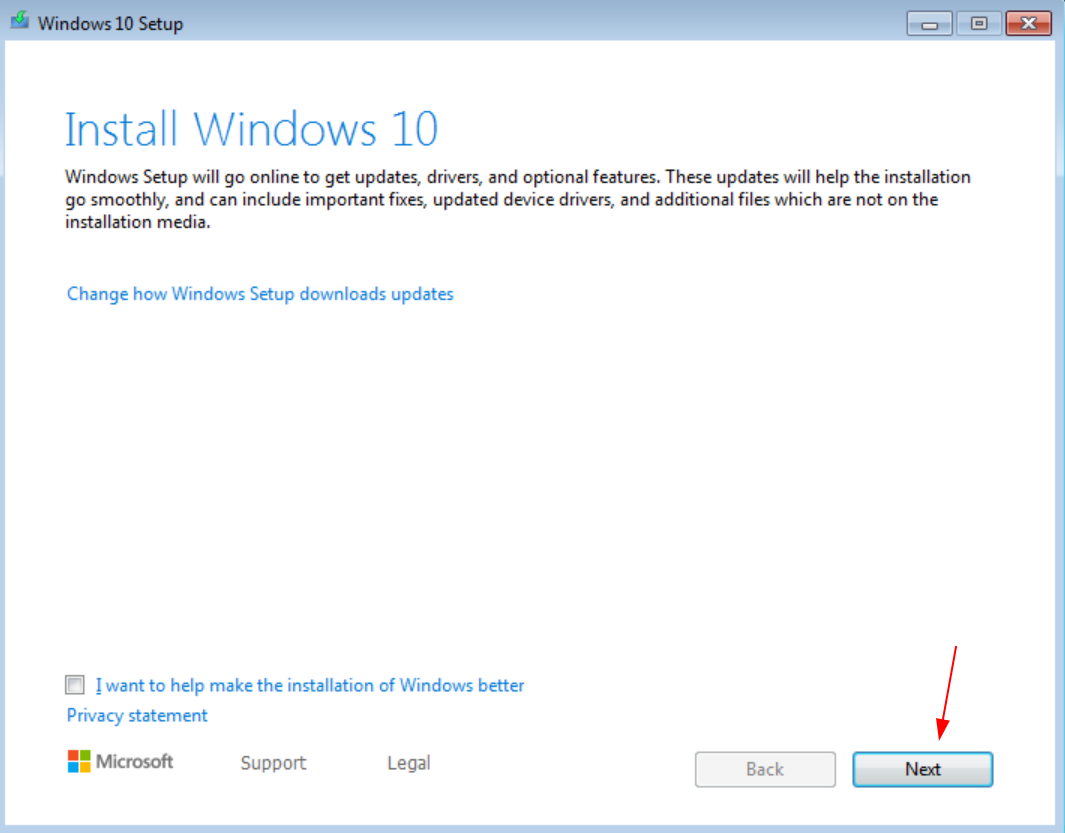
Click Next on the Install Windows screen
-
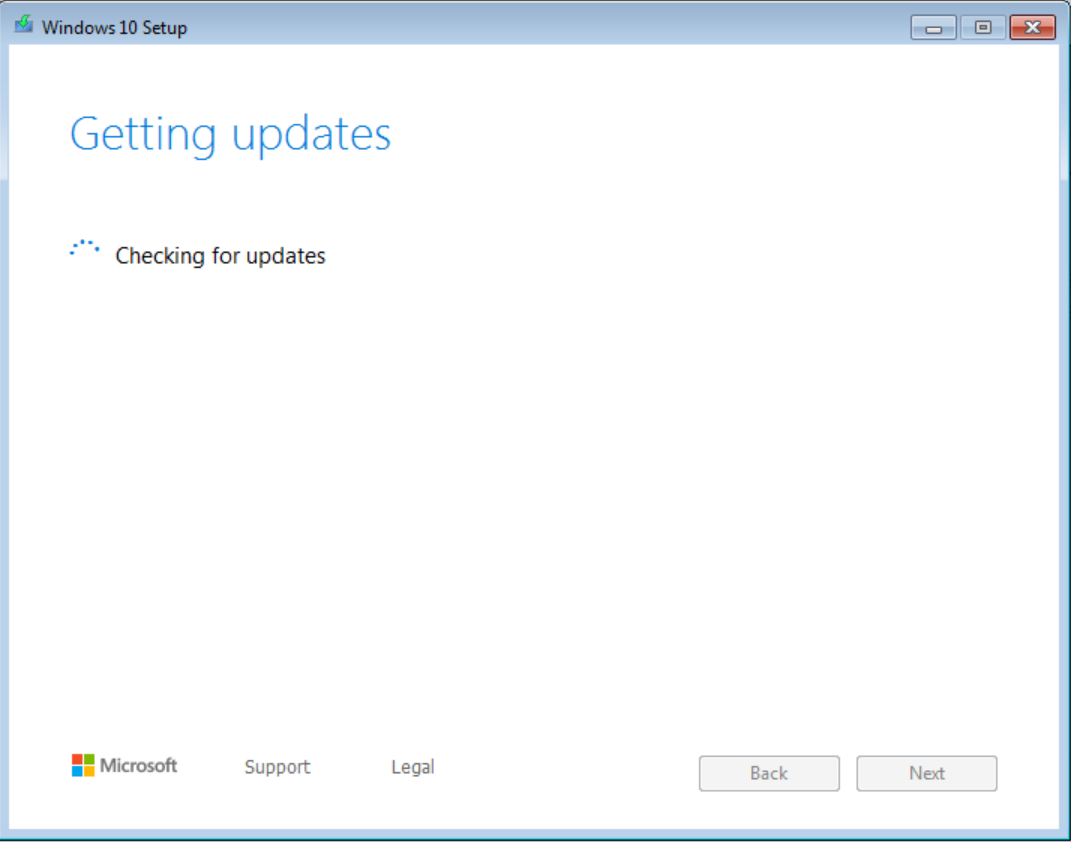
Wait for it to check for updates
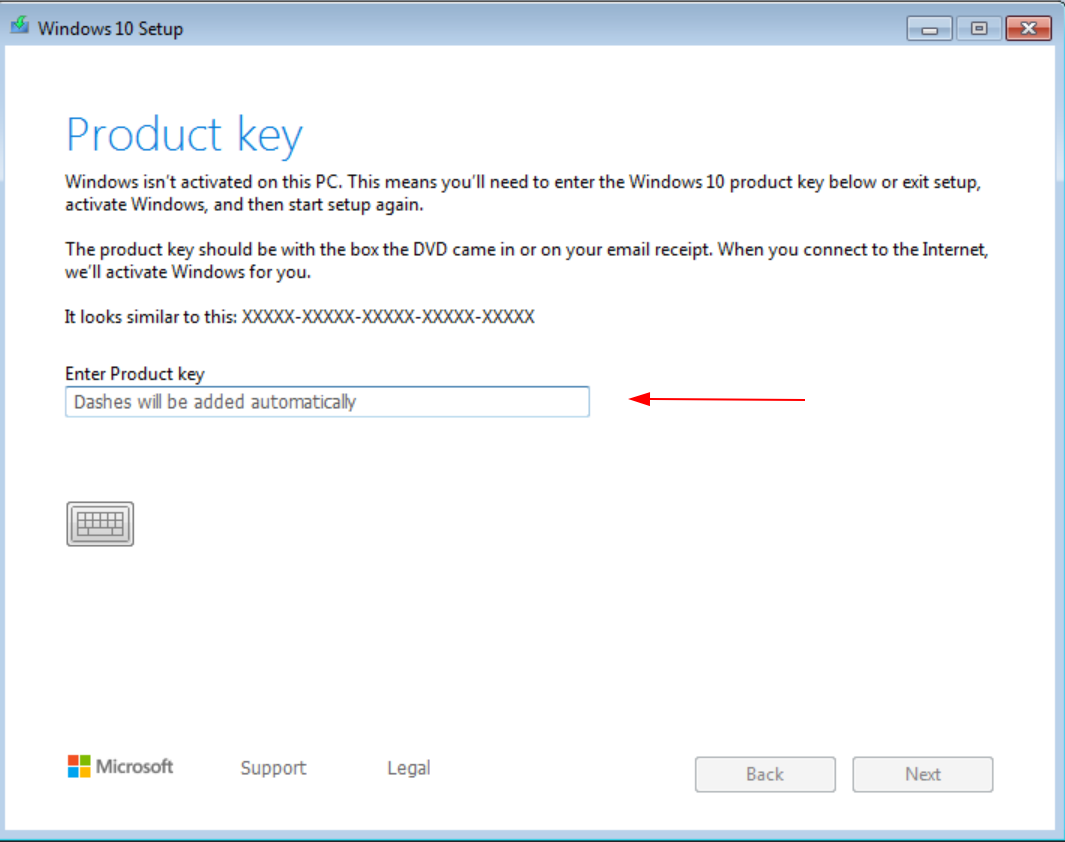
-
Enter your valid Windows 10 product key
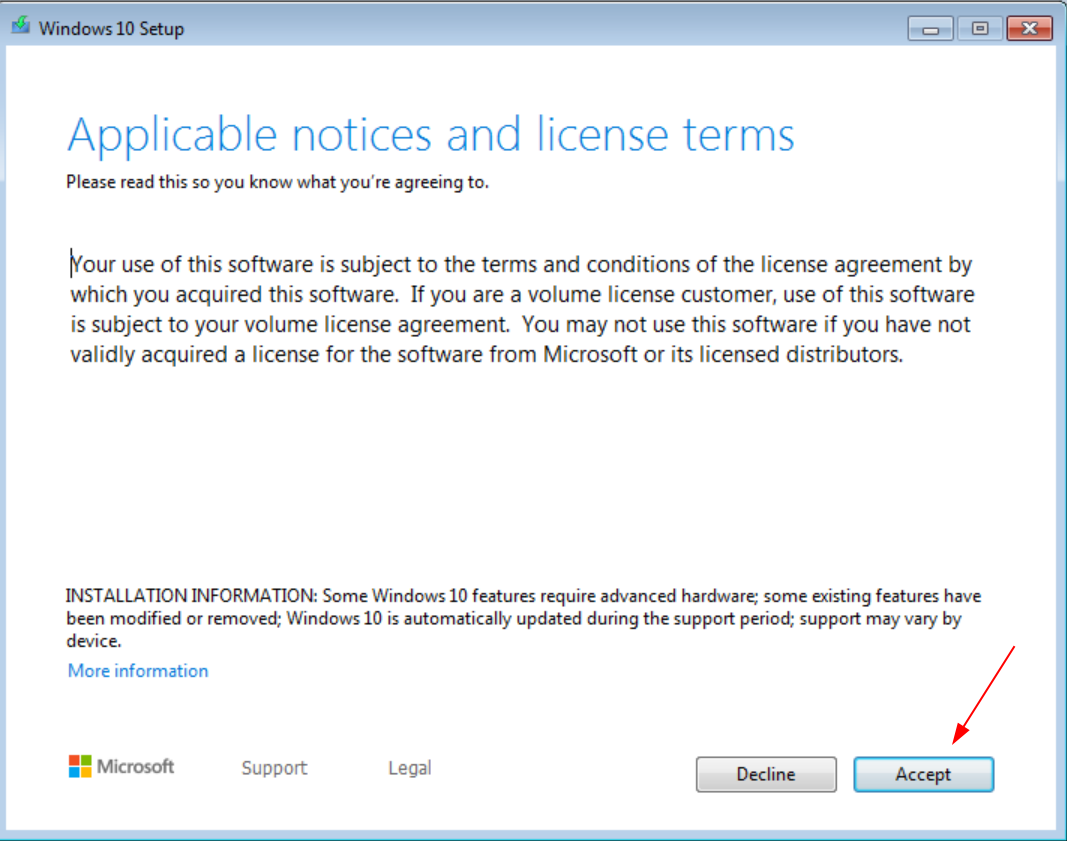
-
Accept the terms
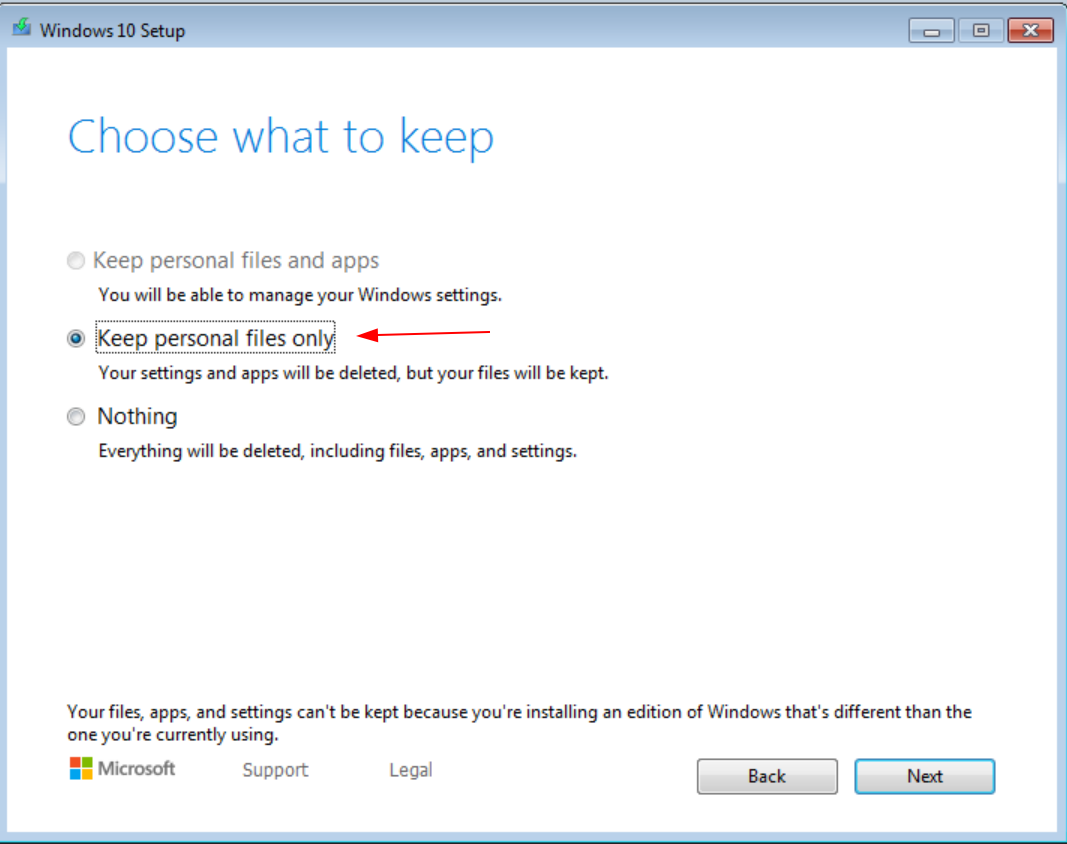
-
Choose to keep your personal files
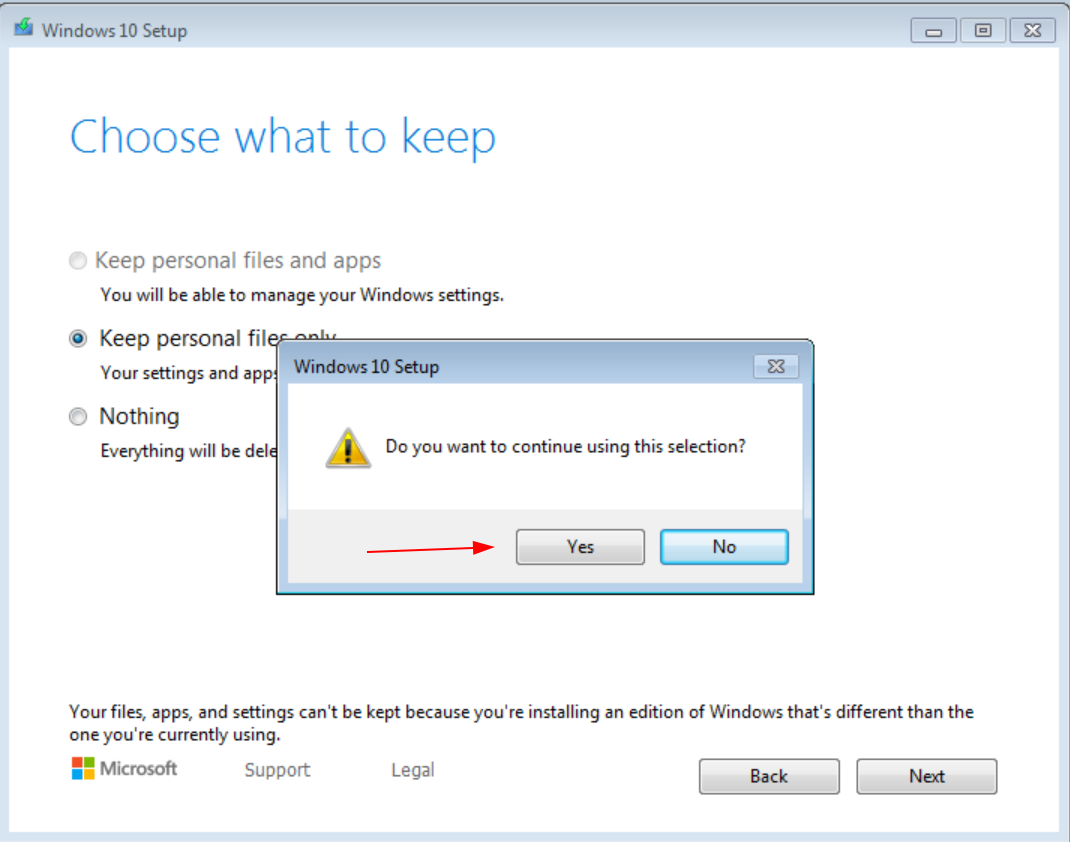
-
Choose yes
-
Wait for it to get updates again

-
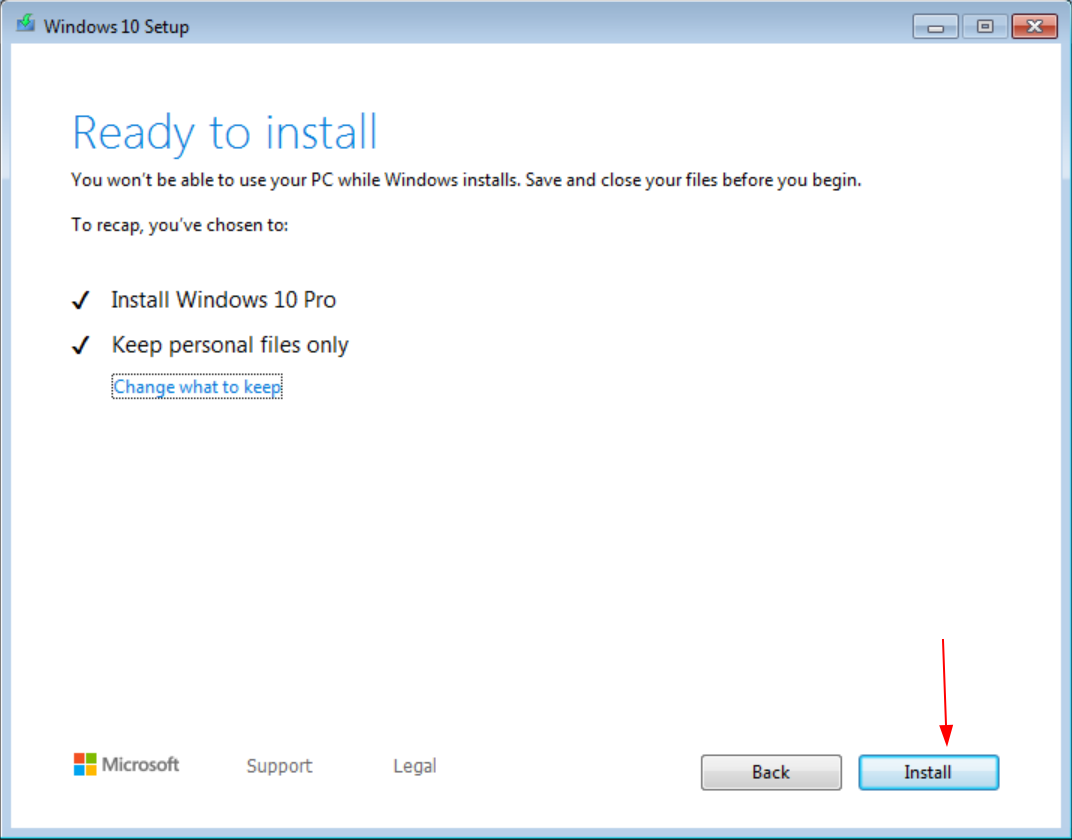
Choose install
This is your last chance to have backed up your data. Clicking “Yes” on this screen will begin the installation process, and if things go wrong you might lose everything on your computer. You have been warned.
-
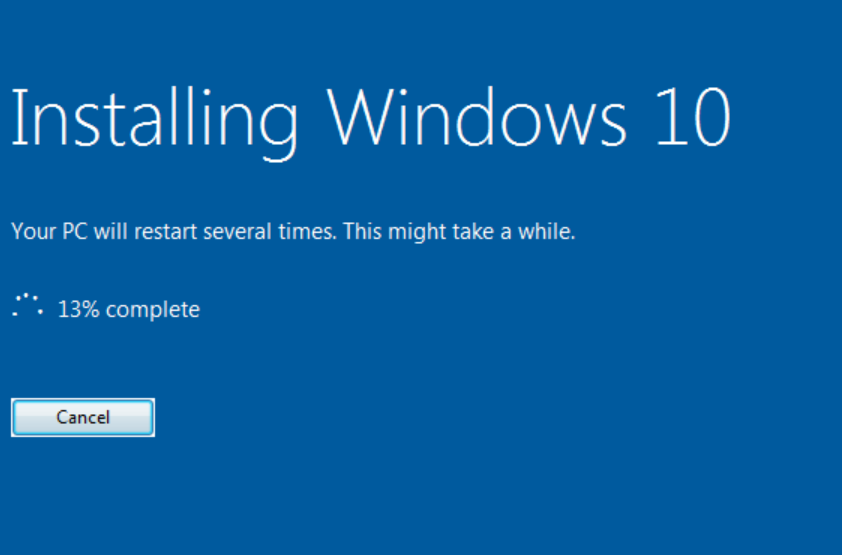
Wait for it to install
-
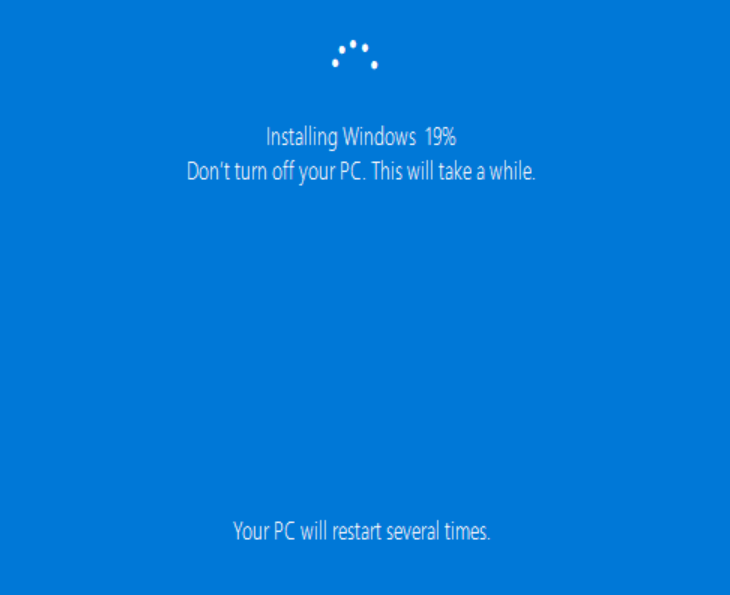
Still waiting…
-
Look, even more waiting. There were a few reboots too. This whole process can take upwards of an hour or more. Just be patient and let it do its thing.

-
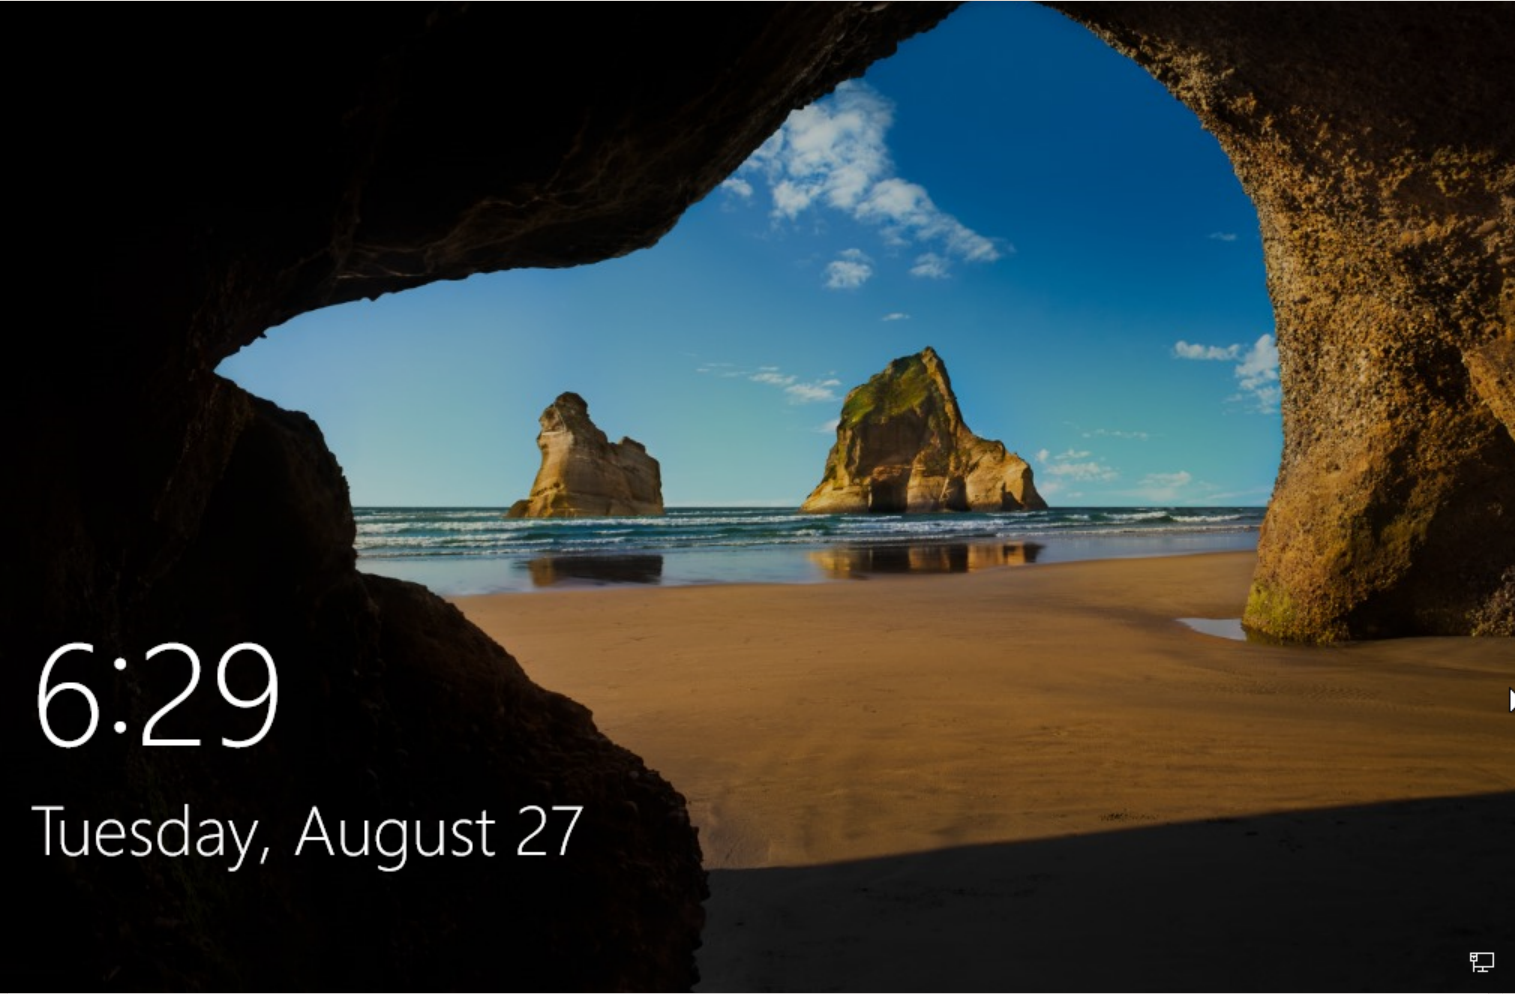
Eventually your computer should come up to the login screen. Double-click to show the available users to login
-
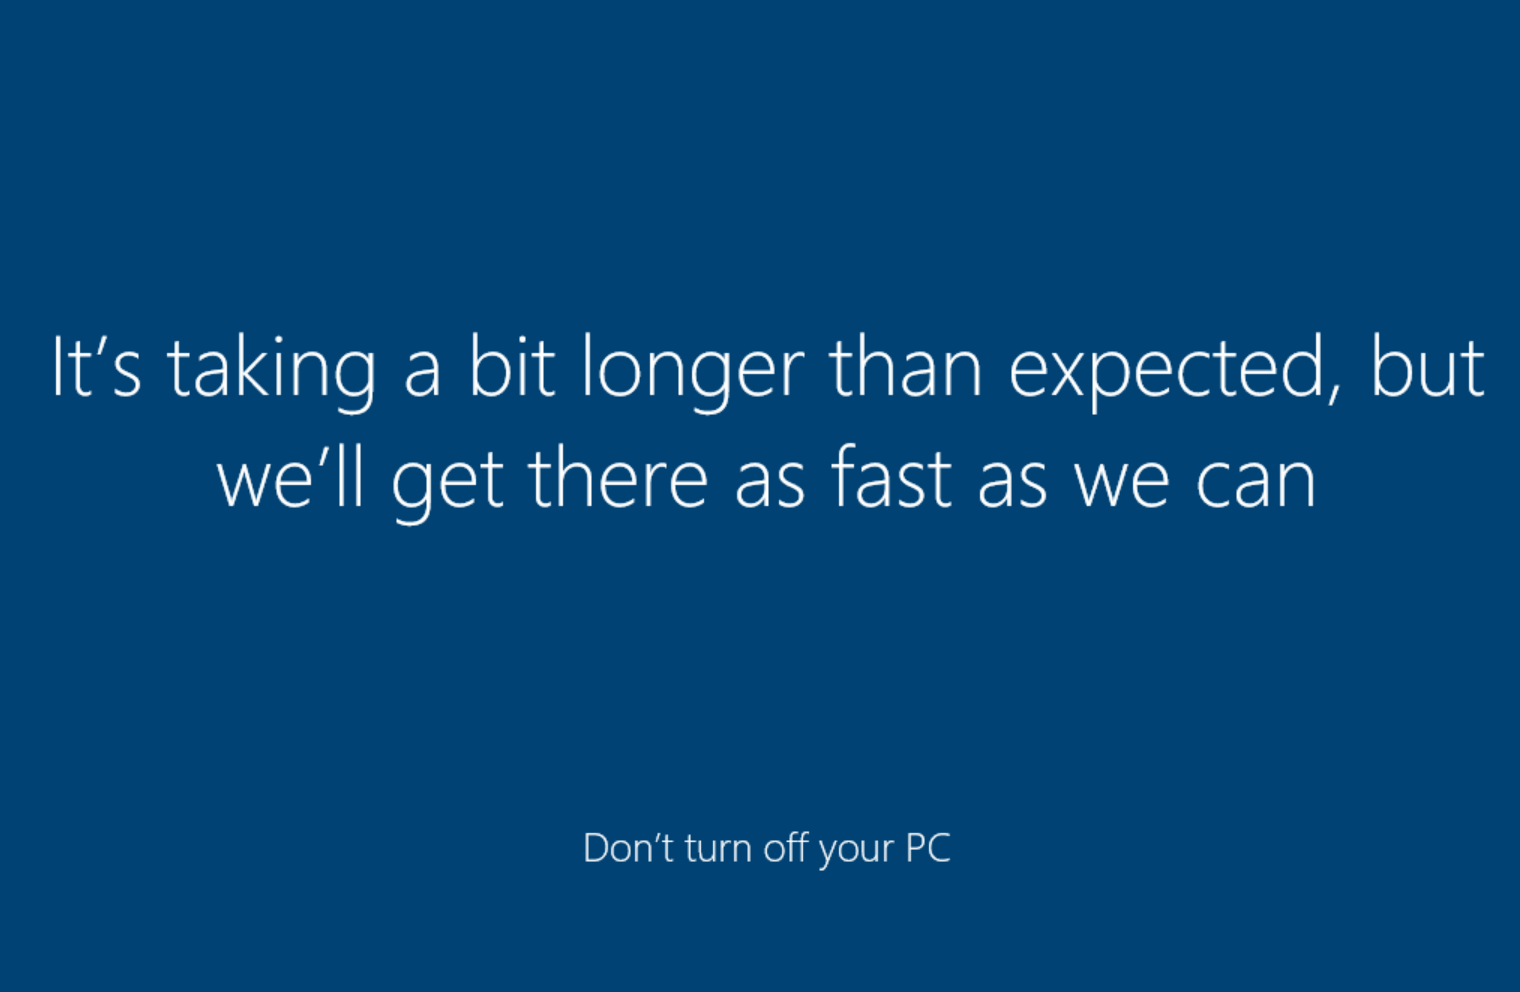
The first login will take a while as Windows 10 prepares some things. Just wait.
-
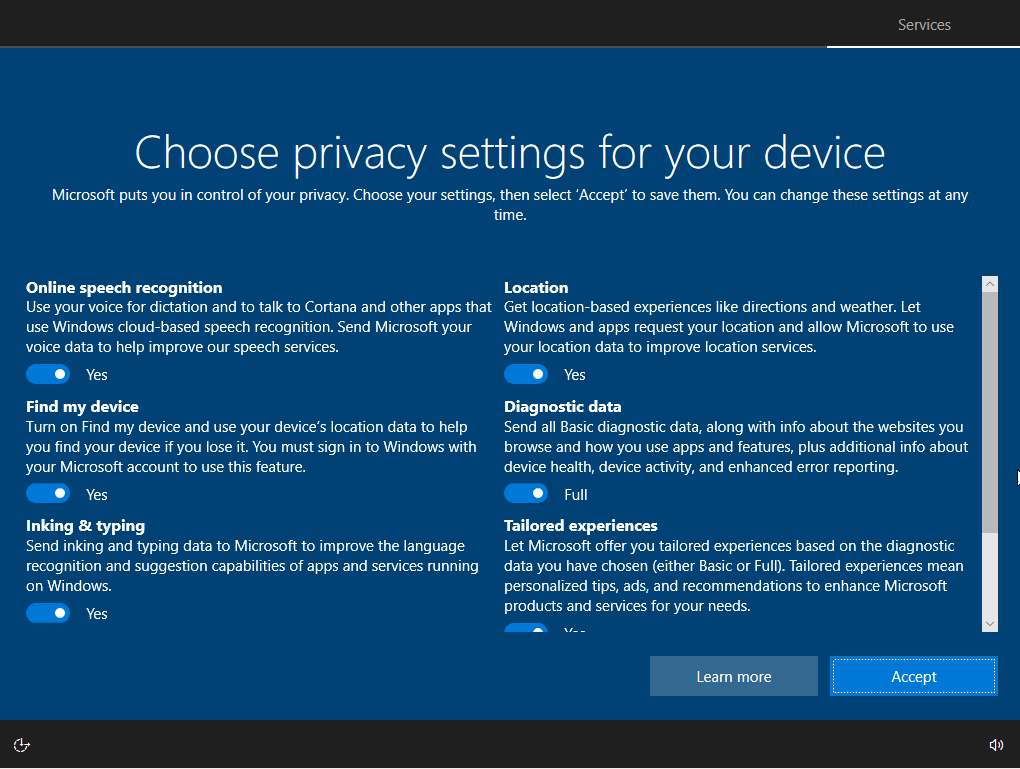
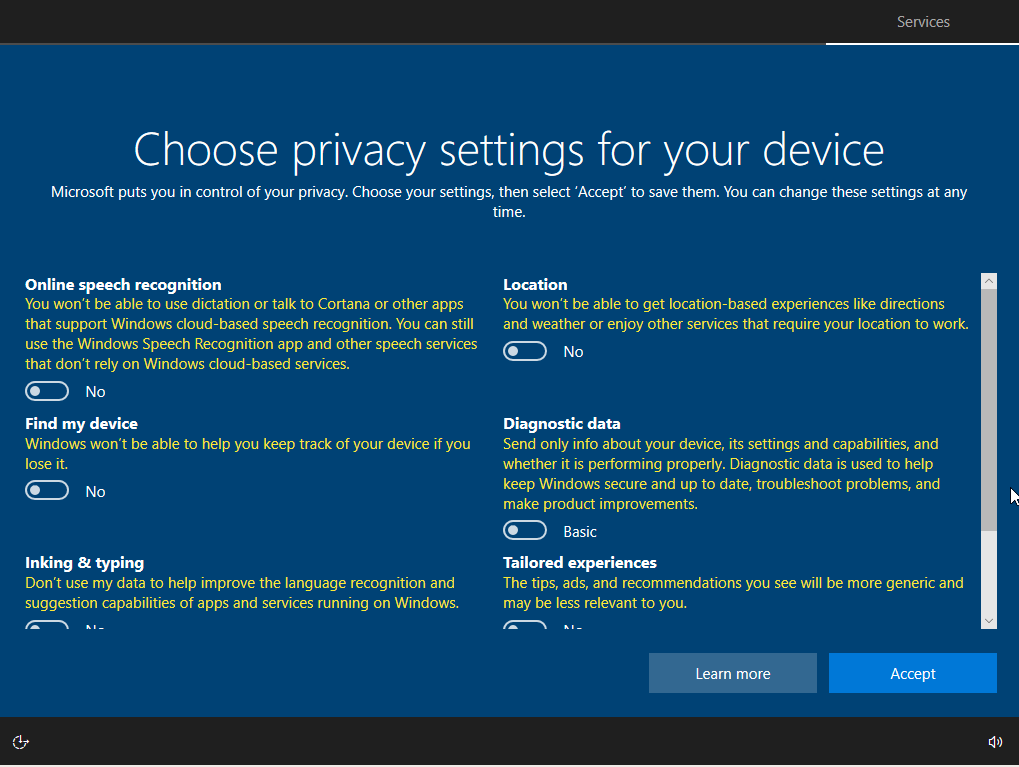
Eventually you’ll be presented with some privacy options that are enabled by default. I enjoy my privacy, so I disable all of these
-
Once the privacy options are set the way you want you can click Accept
-
The desktop should appear
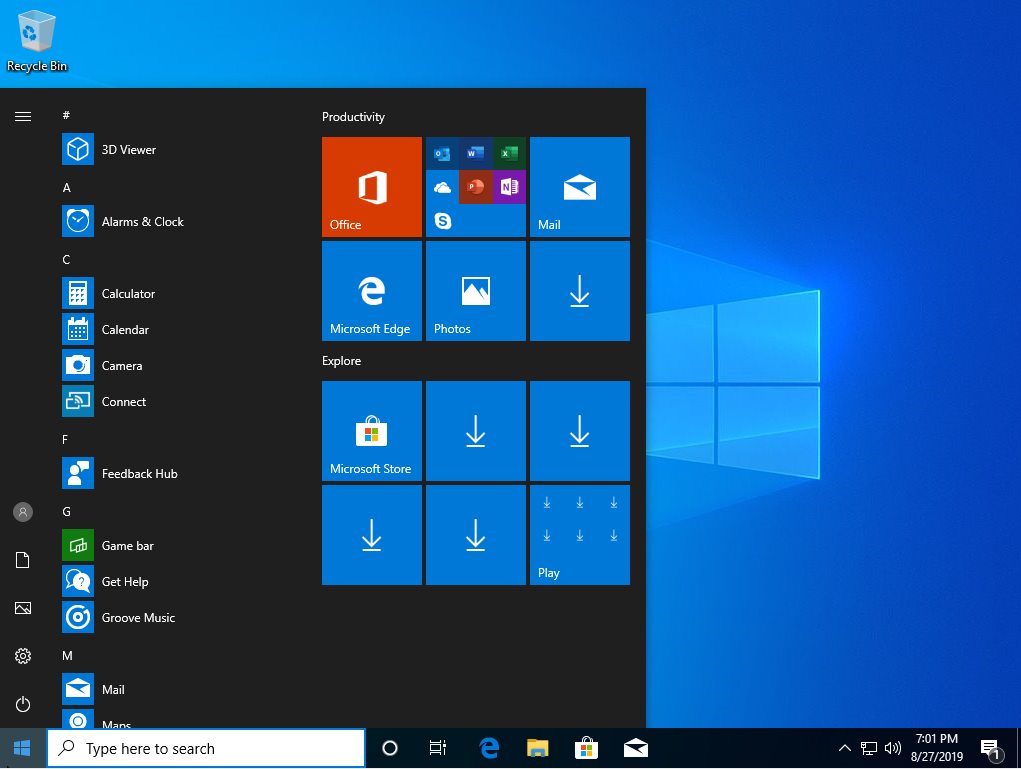
Congratulations, you have just upgraded to Windows 10 : )
If you have any questions/comments please leave them below.
Thanks so much for reading ^‿^
Claire
If this tutorial helped you out please consider buying me a pizza slice!