Can The Original FreeNAS Mini Run the Latest Version of FreeNAS?
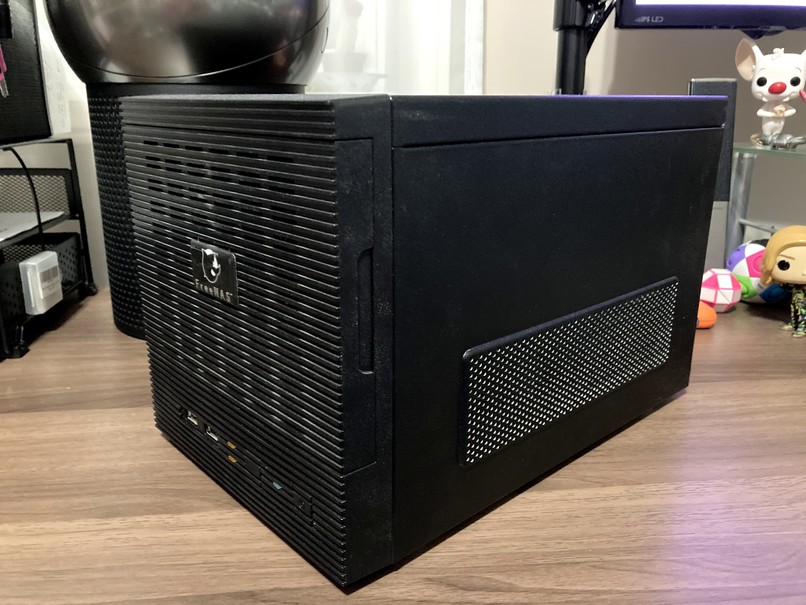
I built a new storage server for myself two years ago to replace my existing FreeNAS Mini storage server that I purchased in 2013. The FreeNAS Mini was still perfectly OK, I had just outgrown the system to continue using it as my main storage. Since then the FreeNAS Mini has been sitting idle, but it still has 8TB of storage and can be upgraded to 16TB. I figured that with a little bit of updating it would be a perfect companion to have next to my main computer in my home office.
I can use it for daily automated backups, temporary storage, or storage for video editing. It might be a seven year old system, but that doesn’t mean I no longer have a use for it!
Table of Contents
Time to Repurpose!
Upgrading the OS
The first step was to bring the OS up to date. It was still running FreeNAS 9.3 from 2014 so that had to go. I downloaded the latest version of FreeNAS (version 11.3-U4.1) and wrote the ISO file to a USB drive using dd.
After booting to the USB drive and starting the installation, all was going well until I encountered this error:
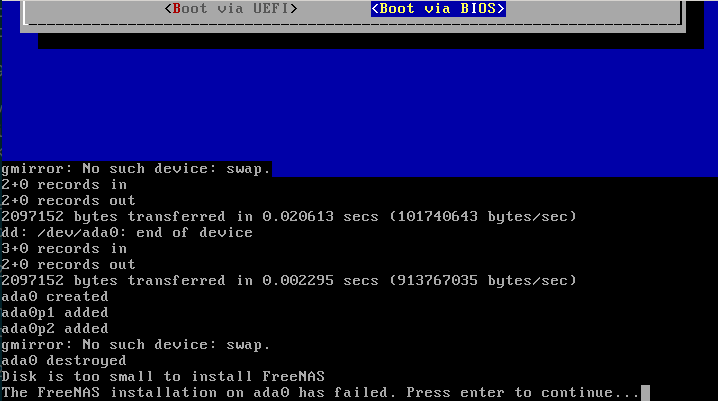
Um… what?
The original FreeNAS Mini came with 4GB of storage for the OS, which used to be plenty for FreeNAS. Looking at the system requirements for version 11, it seems they’ve been updated to state that 8GB of storage for the OS drive is now the minimum. And I don’t just mean the recommended minimum. I mean the OS will refuse to install on anything less.
Upgrading the Storage
OK, fantastic. What do I need to do to upgrade the storage for the OS?
Plan A (AKA “This Should be Pretty Straightforward…")
In my new FreeNAS custom build, I used a 120GB Kingston SSD SATA drive for the OS storage. I thought that would be the best solution here as well… until I took the cover off the case.
Inspecting the motherboard, I found that it only had 4 SATA ports, all of which were in use as the SATA cables went to the backplane used for the four hot-swappable storage drives. This meant I didn’t have a way to plug in a SATA SSD drive without sacrificing one of the storage drives. That ruled out Plan A.
Now some intrepid readers who are familiar with FreeNAS will likely point out that I could have just installed FreeNAS on a USB stick and called it a day. While that is true, I didn’t want a USB stick constantly sticking out the back of the case, and I’ve had problems in the past with USB sticks dying from increased reads and writes when I’ve been using them for running an OS full time.
Some really bold readers who are familiar with FreeNAS will likely point out here that a dead USB drive isn’t a concern, because as long as you save a copy of your configuration to a file you can just boot up with another USB stick, restore your configuration, and you’re good to go. That’s absolutely true, and a fantastic feature of FreeNAS. But again, I didn’t want a USB stick forever sticking out the back of the case, and I didn’t want to keep replacing USB drives.
Some really really courageous readers may now point out that “Aha! You don’t need to have a USB stick sticking out the back of the case, you can just get an adapter so that you can plug the USB stick directly into the USB header on the motherboard.” Also very true, but again I didn’t want to keep buying USB sticks every time one died.
If I haven’t made it clear yet, I wanted to avoid using USB based storage if at all possible.
Plan B (AKA “Are You Freakin' Kidding me??")
Now that that’s cleared up, time to move on to Plan B. Well if there are only 4 SATA ports, and the OS is currently installed on 4GB of storage, just what exactly is it stored on?
Time for some visual inspection. I found this little guy plugged into the motherboard. Just look at ‘em, he’s so cute!
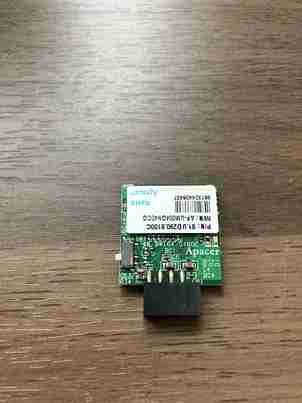
Turns out this is a USB-DOM (Disk on Module) that has 4GB of storage. It’s basically a USB drive without a case, soldiered directly to a USB 2.0 header connector so it can be plugged directly into the motherboard. OK cool, so can I buy a larger one?
Yes I know this is still USB storage but work with me here ok I’m telling a story. Since the original 4GB USB-DOM lasted for seven years and is still OK (just too small) I was open to the possibility of using another one.
Well only if you’re a manufacturing company or you’re willing to spend an absurd amount of money for a tiny fraction of storage.
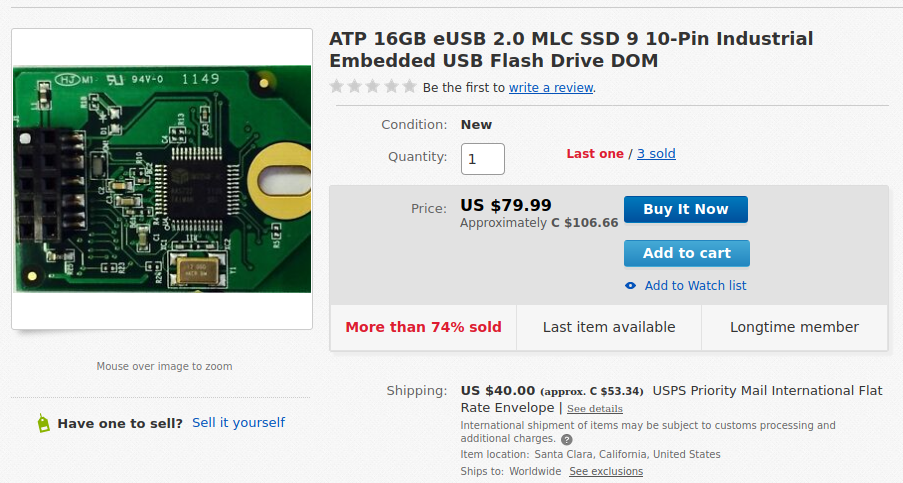
THAT wasn’t going to happen. Add in the cost of shipping and that works out to $9.97 per GB! $160 for 16GB of storage???? On a USB module???
As a comparison, check out the price per GB of these 1TB SATA SSD drives.
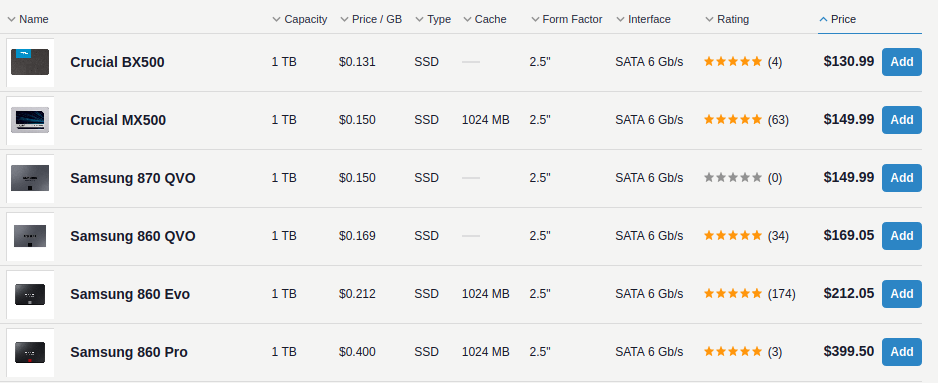
Even for the Samsung 860 Pro it’s still only $0.400 per GB!
OK, so Plan B of replacing the original OS storage type with a larger one is no longer an option because even if I did have money to burn I would like to think I would take one look at that price and nope out of there faster than leaving a room full of maskless people (ok maybe not quite that fast).
Time to create Plan C I guess.
Plan C (AKA “Oh Come on Already!")
I considered buying a USB 2.0 header to USB-A adapter like this

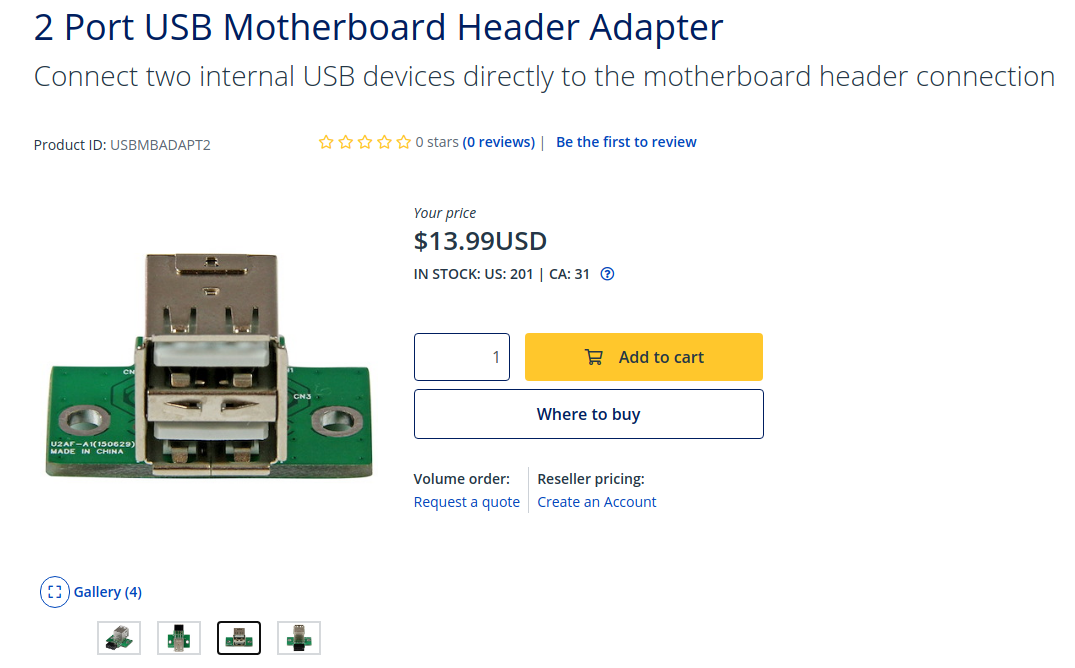
and putting a USB drive inside the case anyway. Like I said I wasn’t a fan of that option but I was already on Plan C and starting to get desperate here. Turns out there’s not a lot of options to choose from in this area of technology either, and I had to be really conscious of the physical size of the adapter. The FreeNAS Mini has a mini-ITX motherboard, and with the small profile of the case and everything packed inside it there isn’t a lot of room to work with.
I didn’t know if there would be enough physical space to plug this into the USB header and/or plug in even a low profile USB drive. Plan C wasn’t progressing very well but hey, that’s why it’s called Plan C right and not Plan Freakin’ A or B.
Plan D (AKA “MacGyver Brain at Work”)
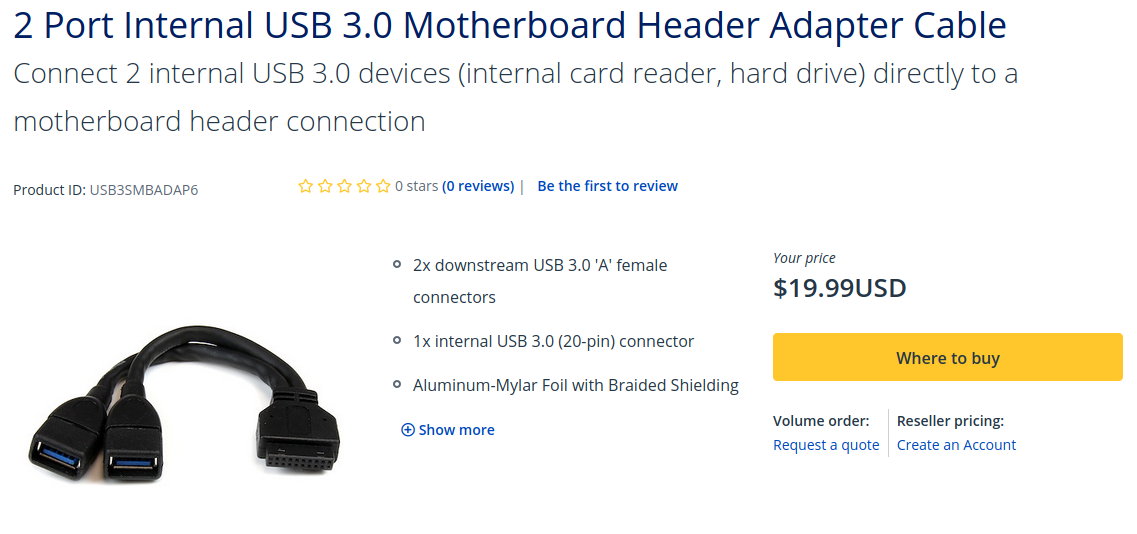
I really didn’t want to use USB storage. Behind the USB 2.0 header on the motherboard there’s a single blue USB 3.0 header. Since I have a spare 256GB M.2 SATA SSD lying around (which would be overkill for this), I wondered if there was a way to use an adapter to connect the M.2 SATA SSD to the internal USB 3.0 header.
Well turns out it is possible. Basically I could get a USB 3.0 header to USB-A adapter. This would have two USB-A connectors on the end that I could plug a USB device into.
From there, I could buy an enclosure for the M.2 SATA SSD, which allows you to use it as an “external” USB drive.
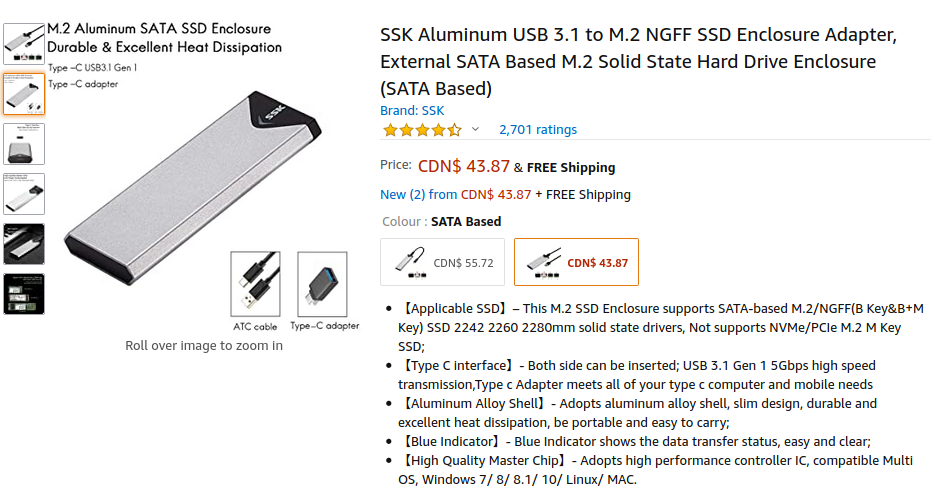
I could probably find an area inside the PC case to secure the enclosure to, then plug the enclosure in to the USB-A port from the USB 3.0 header. It wouldn’t be the prettiest solution, but I felt like I was starting to run out of options.
But then, in the darkness of the PC case, a small ray of light from my flashlight fell on another connector. A glimmer of hope in the shape of a mSATA connector in an abysmal sea of failed plans. I had to be sure.
Plan E (AKA “This Took Much Longer Than it Should Have to Get to This Point”, AAKA “This is Getting Ridiculous”)
Trying to find the original specs and product documentation for the FreeNAS Mini online is not the easiest thing to do. It was discontinued in 2014 and replaced with at least two newer models since then. The original product page, support page, documentation page, whatever page, on the iXSystems website for it are all long disappeared.
I looked around the motherboard with my flashlight until I saw what I was looking for. The name of the motherboard. As it turns out, iXSystems used a standard Intel Desktop Board (DH77DF) for this system, and that meant I should be able to find the original manual for the board from the Intel website.
Finally! Progress. Plan D looked like it might be over and Plan E might be the answer I was looking for. I was correct. Only 4 SATA ports, but actually 6 “SATA” connections. One was an external SATA (eSATA) connector on the back of the motherboard. The second; an internal mSATA port!

Why it didn’t occur to me to go looking for the board name and manual right from the beginning we’ll never know.
I went looking for my storage options in the mSATA department. Turns out there are still not many, but there are a few and they’re far better than the USB-DOM options. I found a Kingston 120GB UV500 SSD mSATA card on Amazon for $52.74.
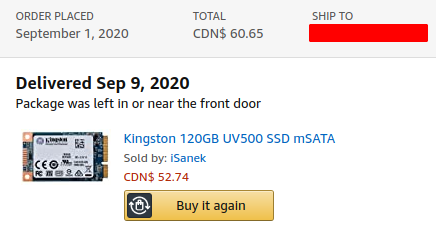
With tax that brought the total up to $60.65, which is still a lot of money for 120GB of storage. It works out to $0.505 per GB, but gives me plenty of room for future OS upgrades. More importantly, I can just install it directly onto the motherboard and not have to do any janky USB adapter nonsense.
Done. Ordered. Delivered. Installed. Upgraded. Finally a clean and sensible solution to an otherwise annoying problem; to repurpose a 7 year old system that still has plenty of life left in it yet.
Coming up next, a detailed step-by-step guide of the hardware installation of the mSATA card in the FreeNAS Mini.
Update 2021-10-20: Well it certainly wasn’t “next”, but I eventually did the thing and wrote the step-by-step hardware installation guide.
If you have any questions/comments please leave them below.
Thanks so much for reading ^‿^
Claire
If you enjoyed reading this article, please consider buying me a pizza slice!