FreeNAS Mini OS Drive Upgrade
Last year I wondered if the original FreeNAS Mini can run the latest version of FreeNAS. Turns out it can, as long as you replace the original USB storage used for the OS with a larger drive. At the end of that article I said “Coming up next, a detailed step-by-step guide of the hardware installation of the mSATA card in the FreeNAS Mini.”
Well folks, welcome to life with ADHD. If you look at any of my posts since then you won’t find that detailed post. So uh… let’s make it shall we?
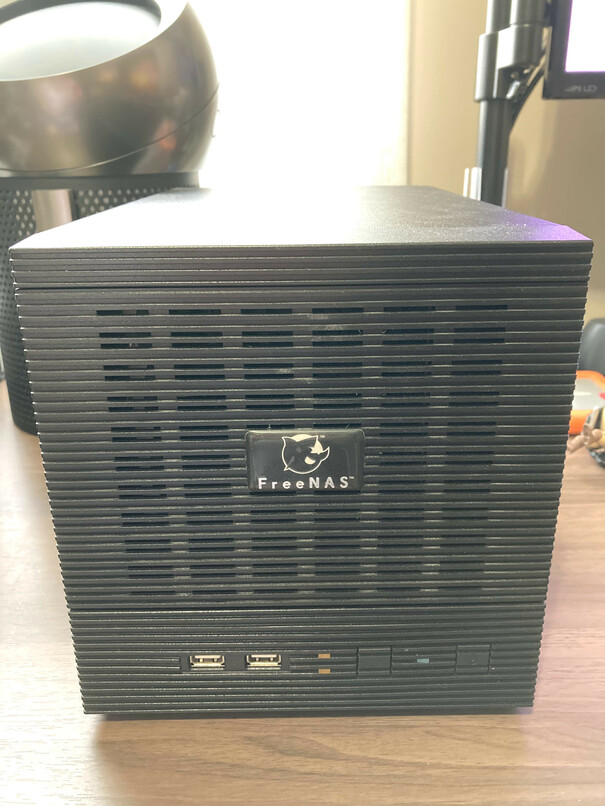
1. Turn off and unplug power to your FreeNAS Mini.
I mean it folks, make sure that power cord is unplugged. You do not want to work on electronic devices with power cords plugged in. Doing so can result in severe injury or, you know, death.
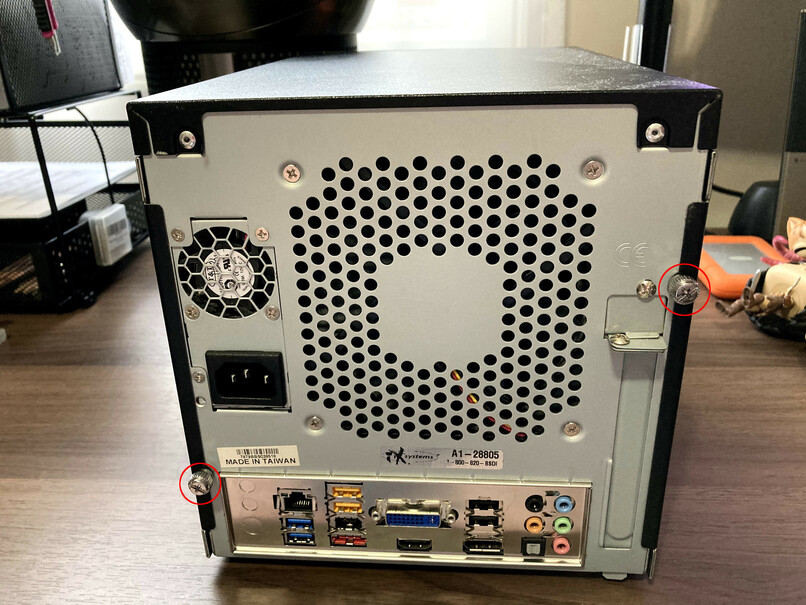
2. Remove the two thumb screws on the back of the case. Once these are removed, you can slide each side panel towards the back to remove from the case.
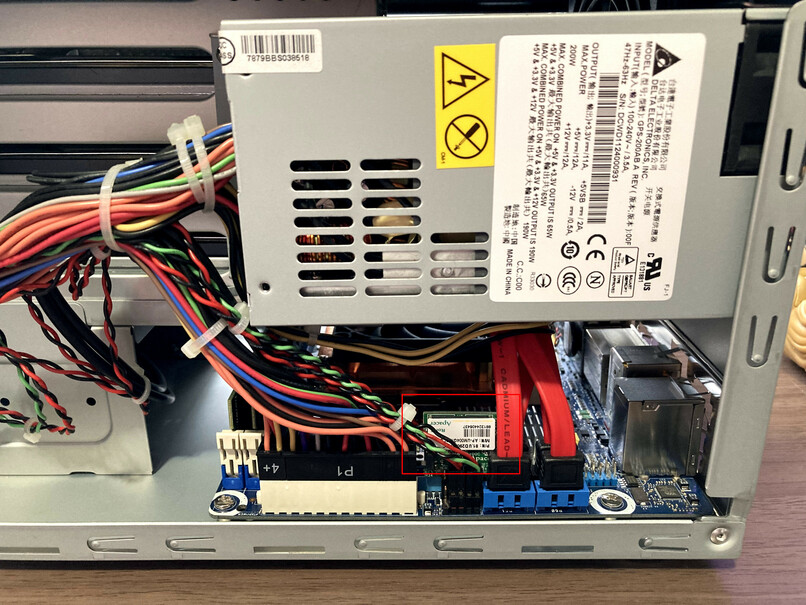
3. Now that the sides of the case are off, you can see the original USB drive for the OS.
Static electricty can be hazardous to electronic components. Even a tiny shock that you can’t see or feel can destroy components.
When working inside a computer case, you should either use a “grounding wrist strap” connected to the metal on the case of the computer you are working on, or you can hold the metal of the case with one hand while working in order to ground yourself.
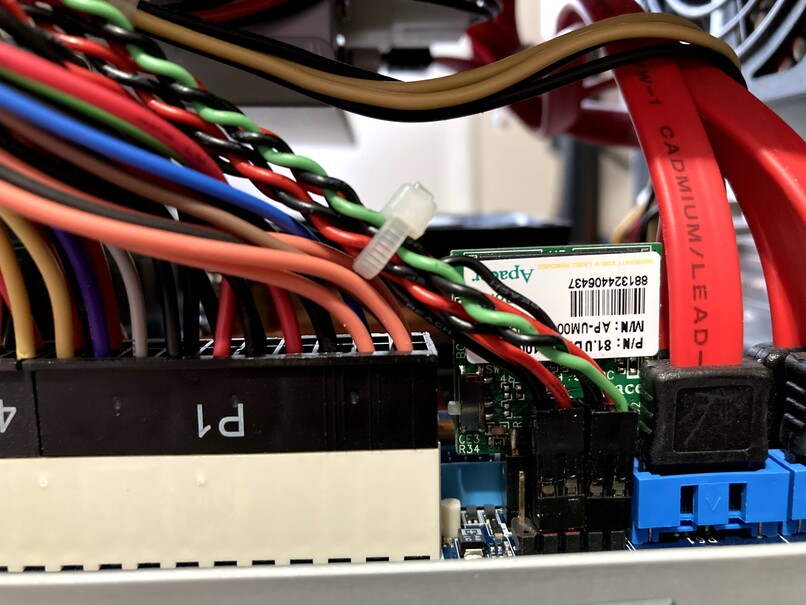
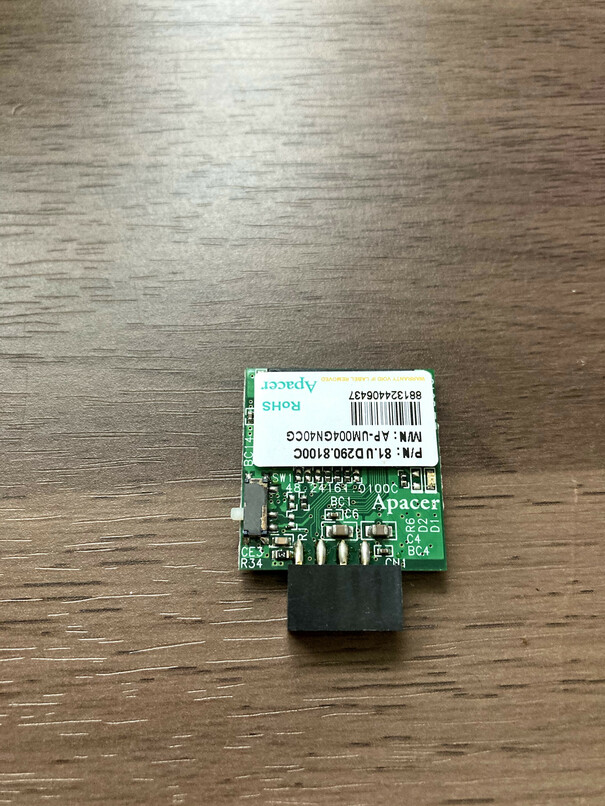
4. This is a USB-DOM, which is plugged straight into the internal USB 2.0 connector. Remove the drive by pulling up. There are no screws or any other kind of locking mechanism in place so it should come free relatively easily.
5. Set the USB-DOM to the side. We're not going to need it after the upgrade.
6. We're going to need to remove the power supply so that we can properly access the motherboard. Start by removing the two screws on the bracket holding the power supply to the inside of the case.

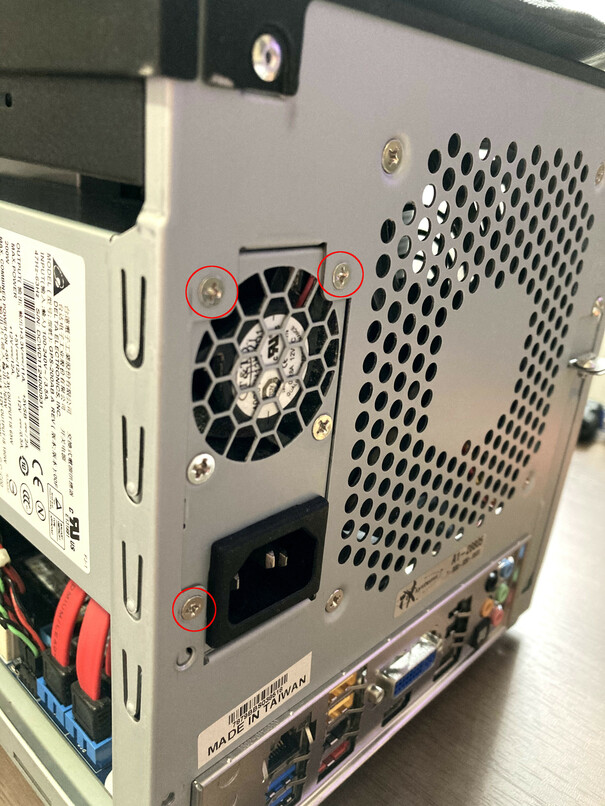
7. Then remove the three screws securing the power supply to the back of the case.
Support the bottom of the power supply with one hand while removing the screws to prevent the power supply from falling onto the motherboard components below.
That would be bad.
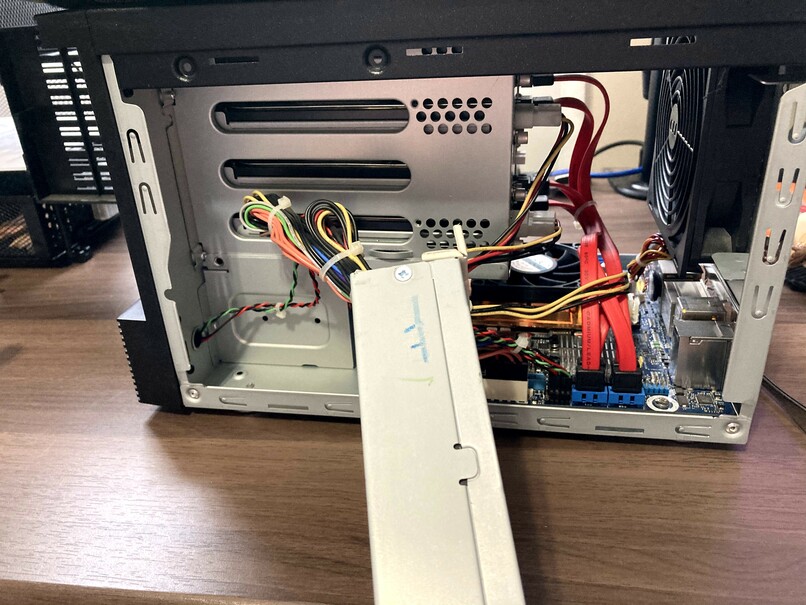
8. There should be enough room to swing the power supply outward without having to unplug any of the cables. The power supply should be able to rest outside the case without touching any of the motherboard components.
Realistically it would be better to unplug the power supply cables from the motherboard and other components so that the power supply can be removed completely, however I was impatient and didn’t want the hassle.
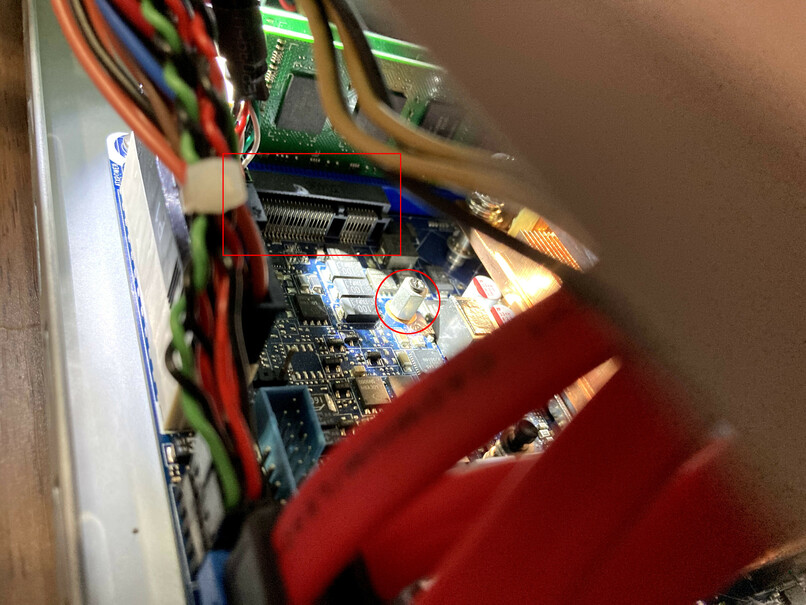
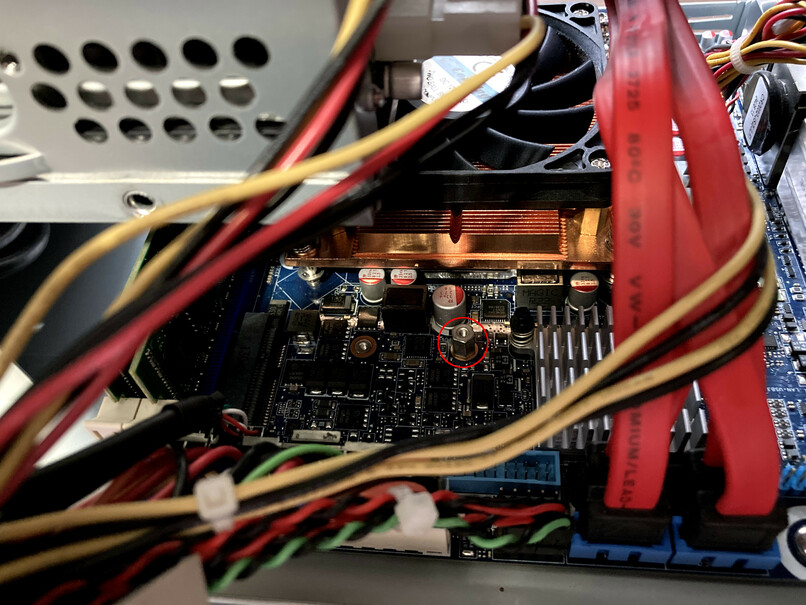
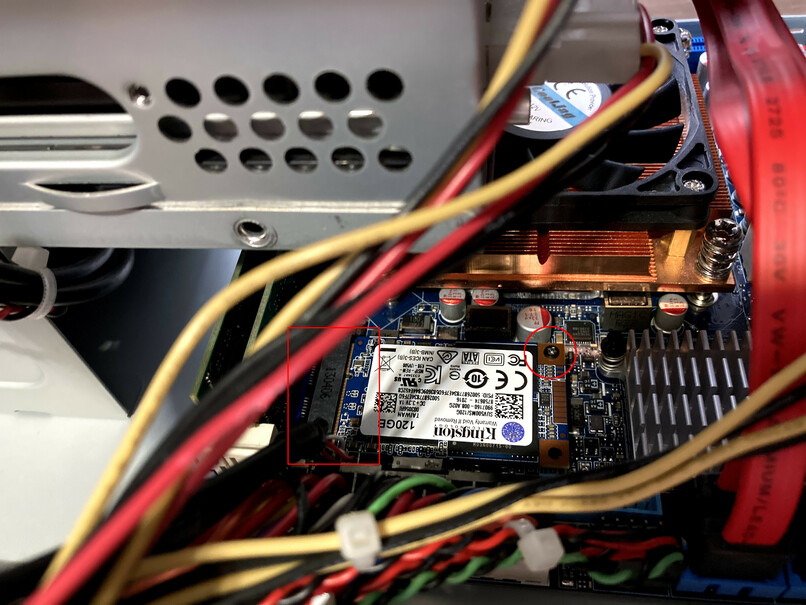
9. With the power supply out of the way, we can now see the mSATA port and the two mount points for securing an mSATA card with a screw. The mounting hole closest to the mSATA port is for small mSATA cards (such as mSATA wireless adapters), while the one further out is for larger mSATA cards (such as mSATA SSD storage).
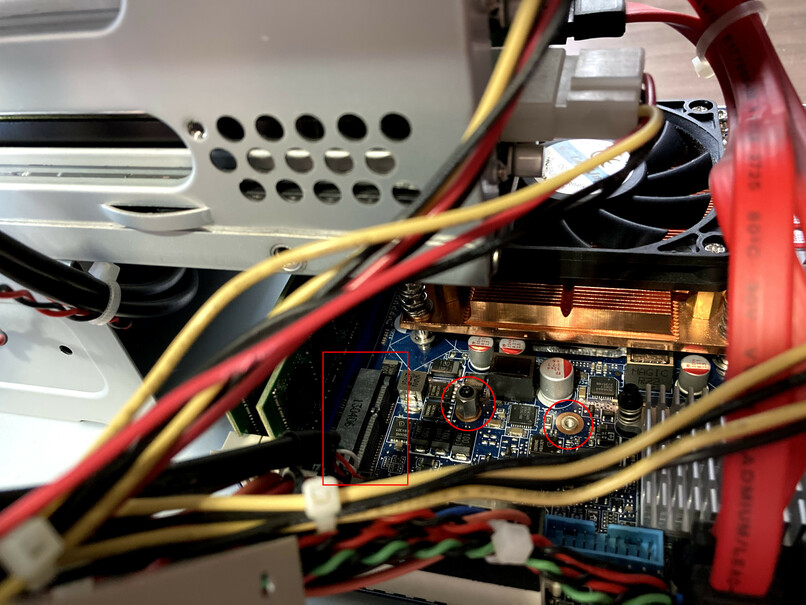
10. There's already a standoff with a screw in the hole closest to the mSATA port. Since the mSATA card I have is for storage, I'm going to need to remove the existing standoff from the closest hole, and put it in the hole furthest away.
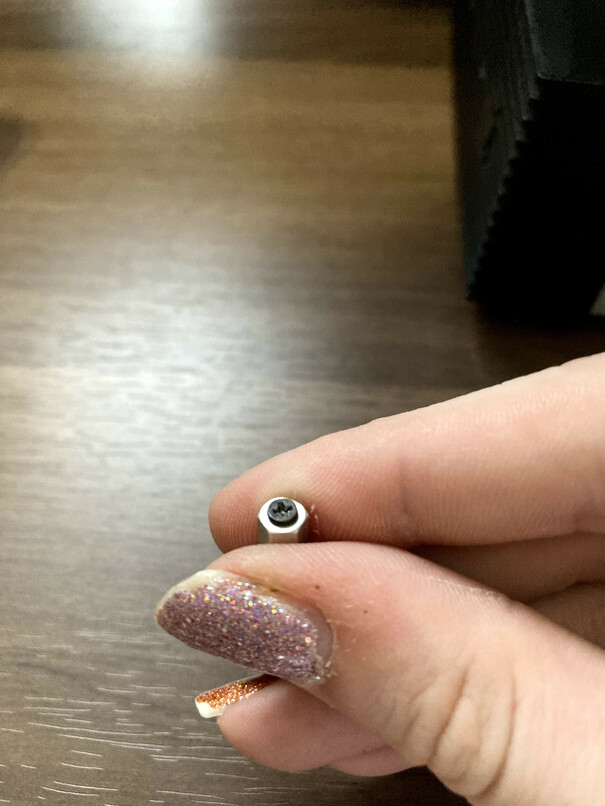
You may be able to unscrew the standoff using just your fingers. If not, a small nut driver or needle nose pliers will work. Just be careful not to slip and hit the motherbaord.
11. With the standoff removed from the case, we can see that it has a screw in the top of it. This is the screw that will be used to secure the mSATA card to the standoff, which in turn will be secured to the motherboard.
12. Go ahead and remove the screw and set it aside.
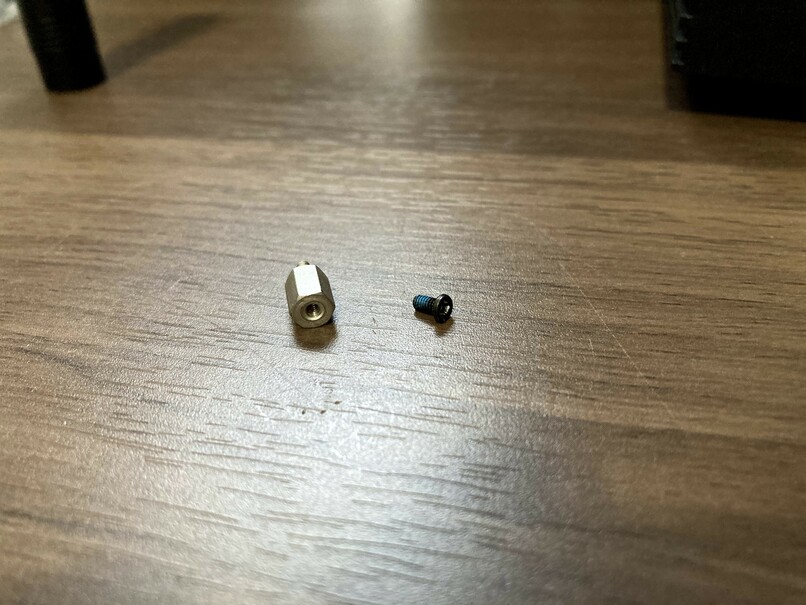
13. You should now see two holes to the right of the mSATA connector.
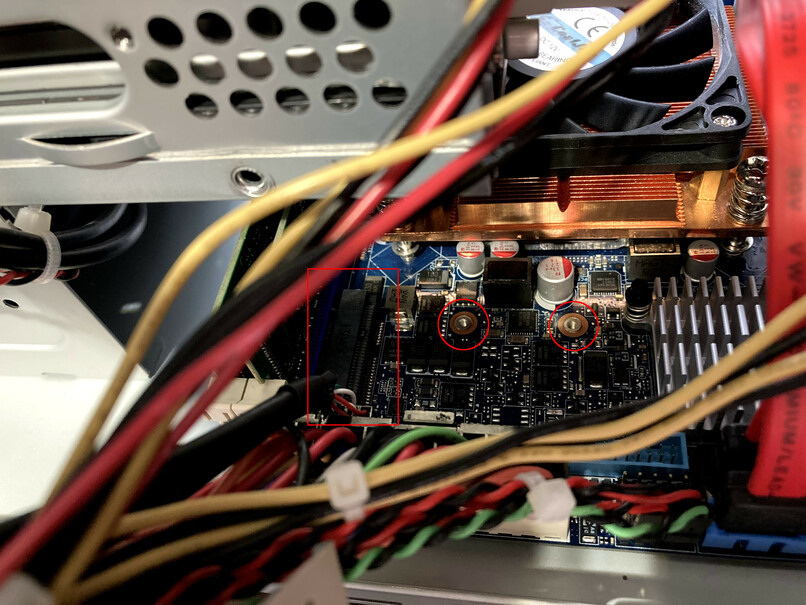
14. Screw the standoff (without the screw) into the hole furthest away from the mSATA connector.
Finger tight is fine. If you use a nut driver be sure not to over tighten.
15. Now get your mSATA SSD.
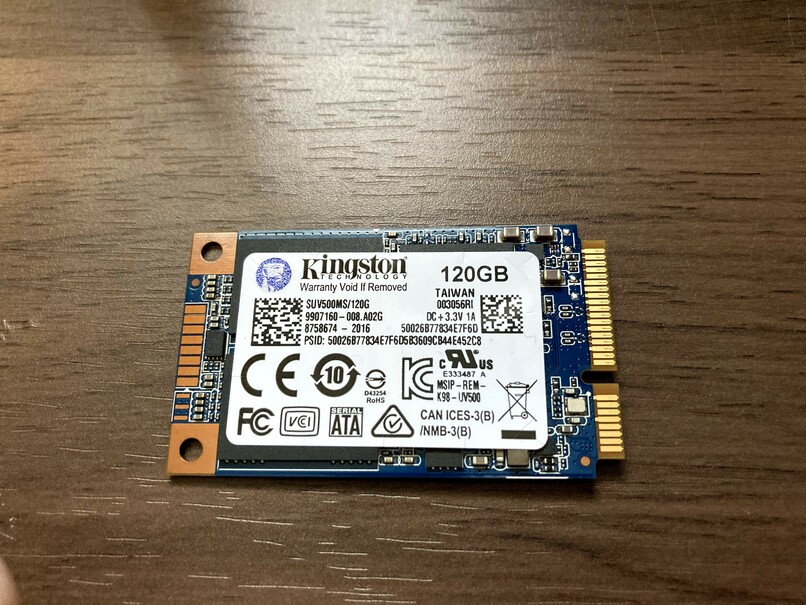
16. When handling the mSATA card (or any electronic component really), you should try and hold it by the edges.
The connector and the mSATA card are “keyed”, so they’ll only fit in one way. Match the key location with the connector when orienting the card for installation.
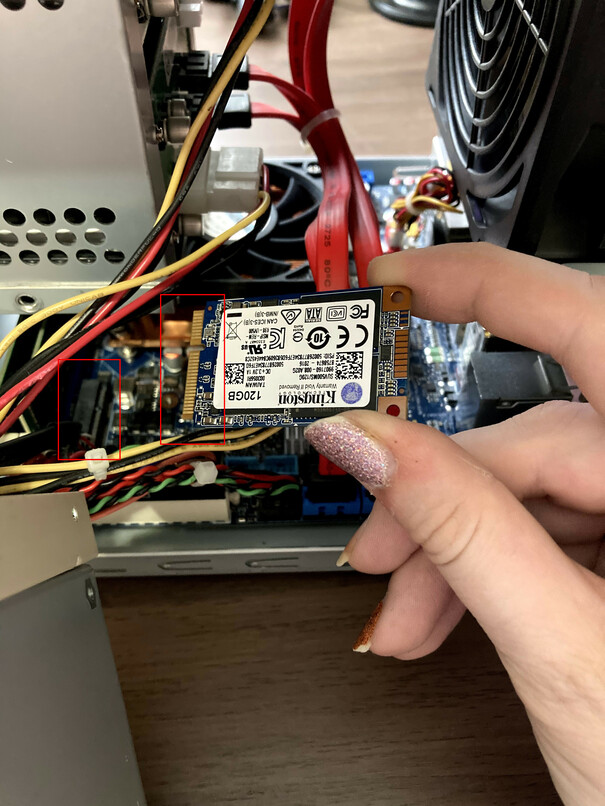
17. Insert the card into the connector at an angle. It should slide in without much force. If you feel resistence, ensure the card is lined up with the connector properly.
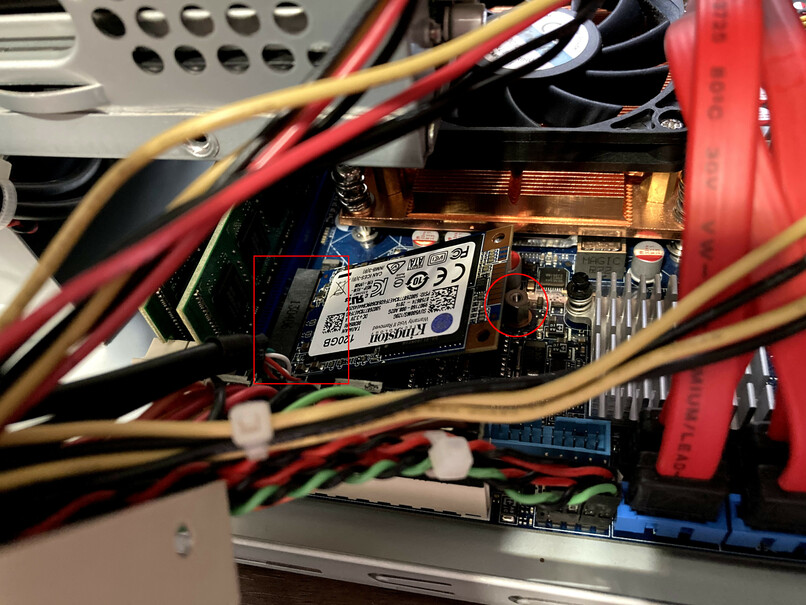
18. Hold the card down with your finger and secure it to the standoff with the screw.
That’s it!
Now all you have to do is reverse the steps to reinstall the power supply and case panels. After power on it should recognize the new SSD, but it won’t boot because there’s no OS installed on the drive.
All you need to do is boot to a FreeNAS USB drive to install FreeNAS to the new SSD.
If you have any questions/comments please leave them below.
Thanks so much for reading ^‿^
Claire
If this tutorial helped you out please consider buying me a pizza slice!