Microsoft is trying really hard to get people to use a Microsoft account to log into Windows. Every edition of Windows 10 has made it more difficult to create a local user account during Windows Setup, and their newest operating system, Windows 11, is no different.

If you have Windows 11 Pro, you CAN choose to continue through the setup without using a Microsoft Account, but for users of Windows 11 Home you’re out of luck without going through some special steps.

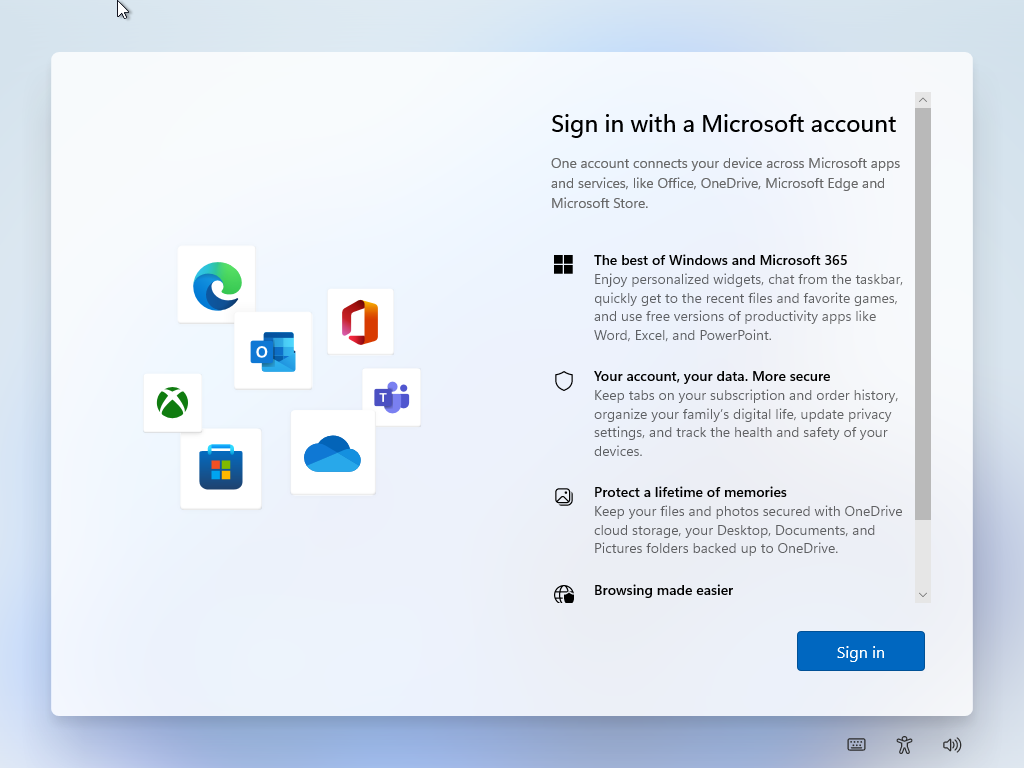
  1. If your computer is already turned on and at the Windows Setup screen, you’ve likely reached the point where it won’t let you continue without a Microsoft account. Windows 11 Setup screen that requires you to sign in with a Microsoft Account. The screen is titled “Sign in with a Microsoft account”, and then lists some of the benefits of using a Microsoft account. The only clickable button is the “Sign In” button.

  2. Disconnect your computer from the internet, either by removing the ethernet cable or disconnect/turn off your Wi-Fi.

  3. Once done, restart your computer.

    Since there’s no “Shut Down”, “Restart”, “Cancel Install” option in Windows Setup, you’ll likely need to force power off your computer.

    1. Hold down the power button for approximately 5 seconds until the computer turns off.
    2. Press the power button again to turn your computer back on.

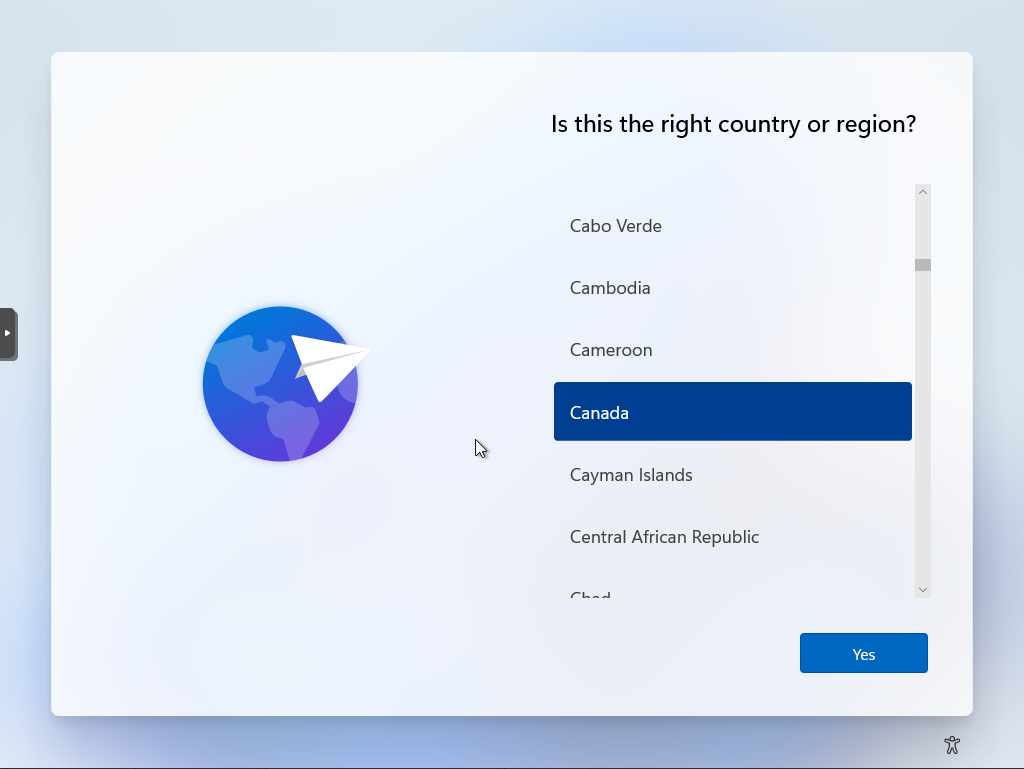
  4. Windows Setup should start again at the initial locale settings. Choose your country/region. Windows 11 Setup screen to choose the country or region. The screen is titled “Is this the right country or region?” The list of countries is scrolled down to countries beginning with “C”, with “Canada” selected in blue.

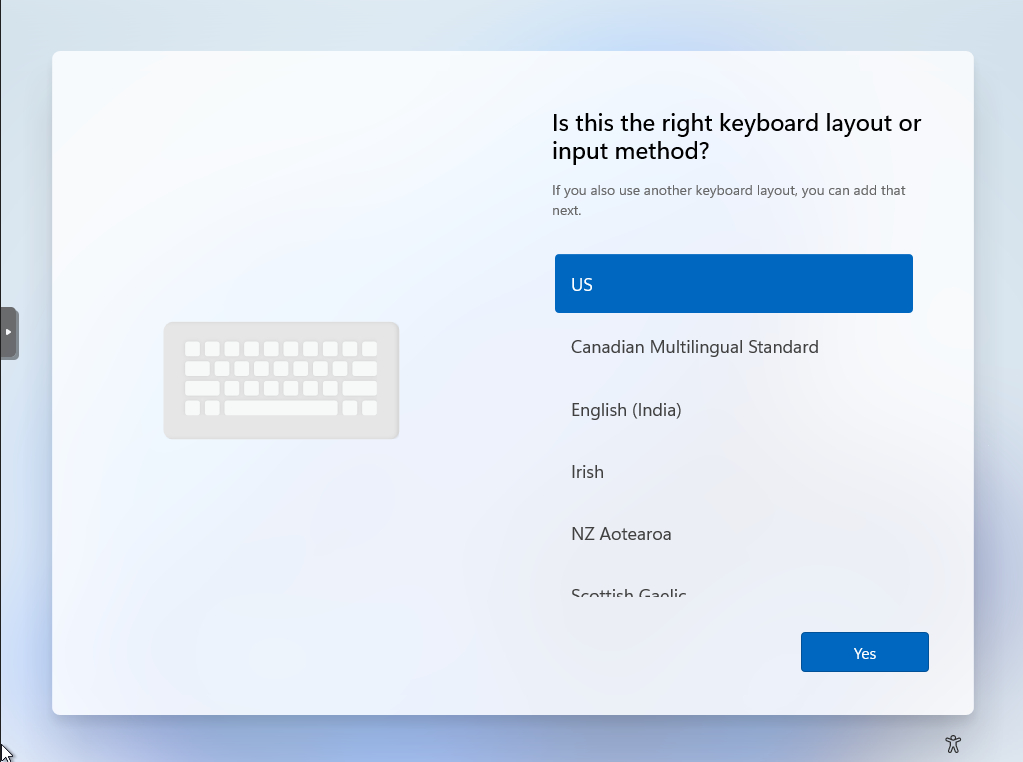
  5. Choose your keyboard layout. Windows 11 Setup screen to choose the keyboard layout for the system. The screen is titled “Is this the right keyboard layout or input method?” “US” is selected and highlighted in Blue, while other options are “Canadian Multilingual Standard”, “English (India)”, “Irish”, and “NZ “Aotearoa”.

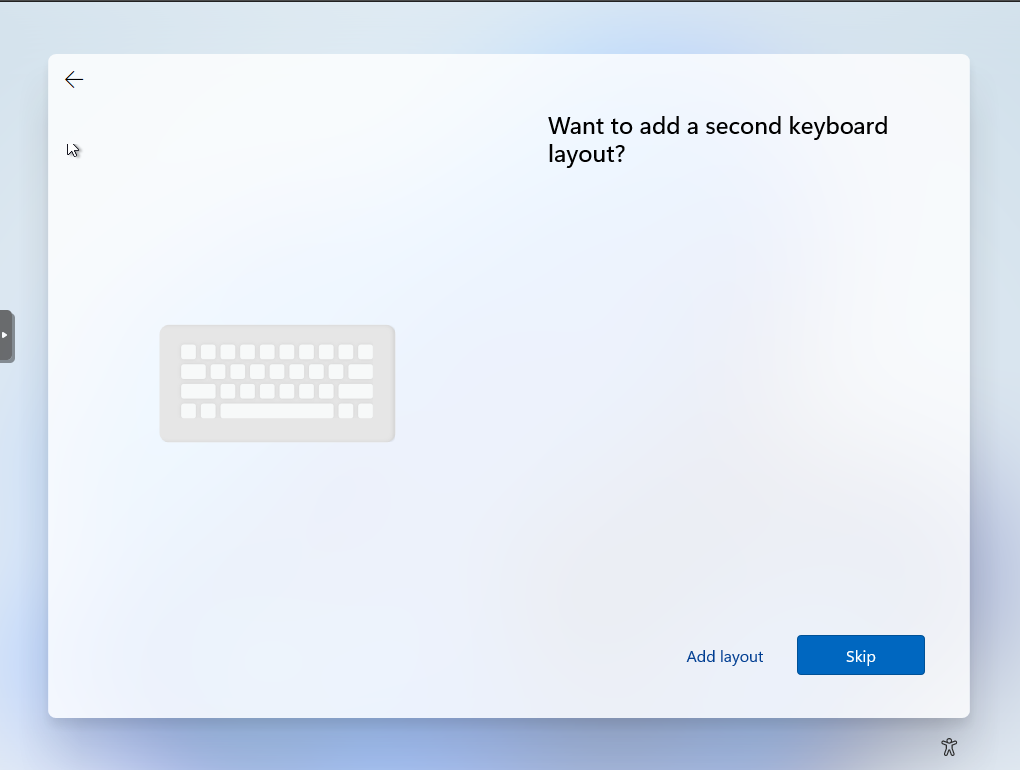
  6. Skip adding a second layout if you don’t need one. Windows 11 Setup screen titled “Want to add a second keyboard layout?”. The two options are “Skip” highlighted in Blue, or “Add layout”.

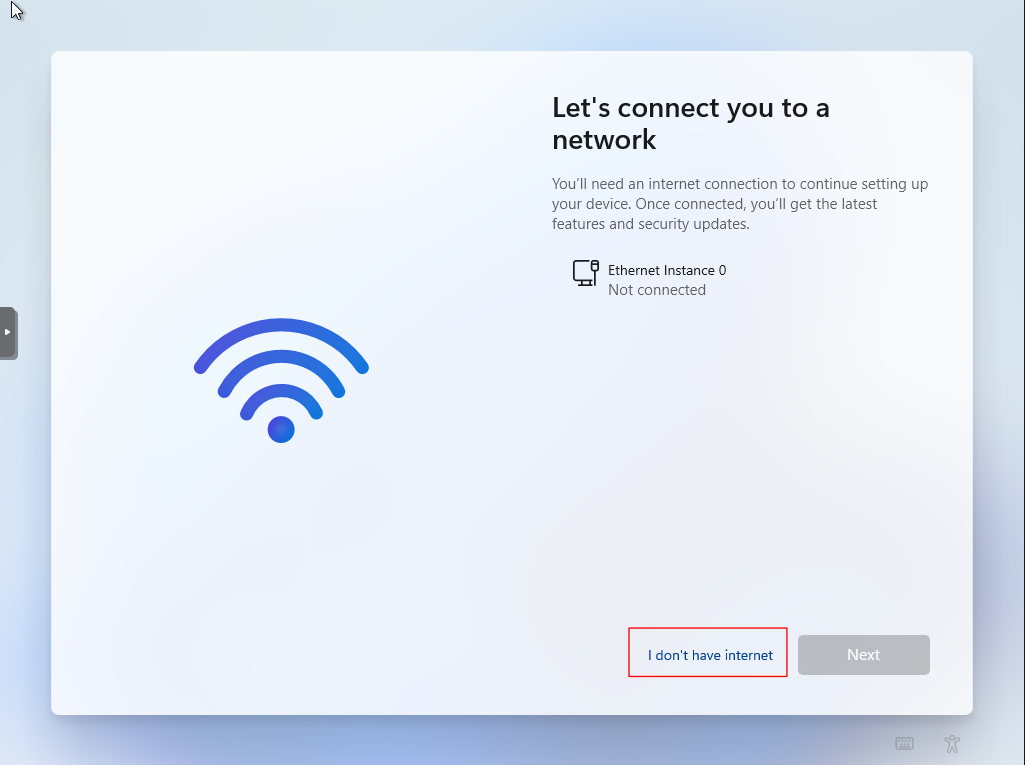
  7. Unlike the first time going through Windows Setup, you should now see a “Let’s connect you to a network” screen. Windows 11 Setup screen titled “Let’s connect you to a network”. The “Next” button is greyed out, and you seemingly can’t progress further in the setup until you connect to a network.

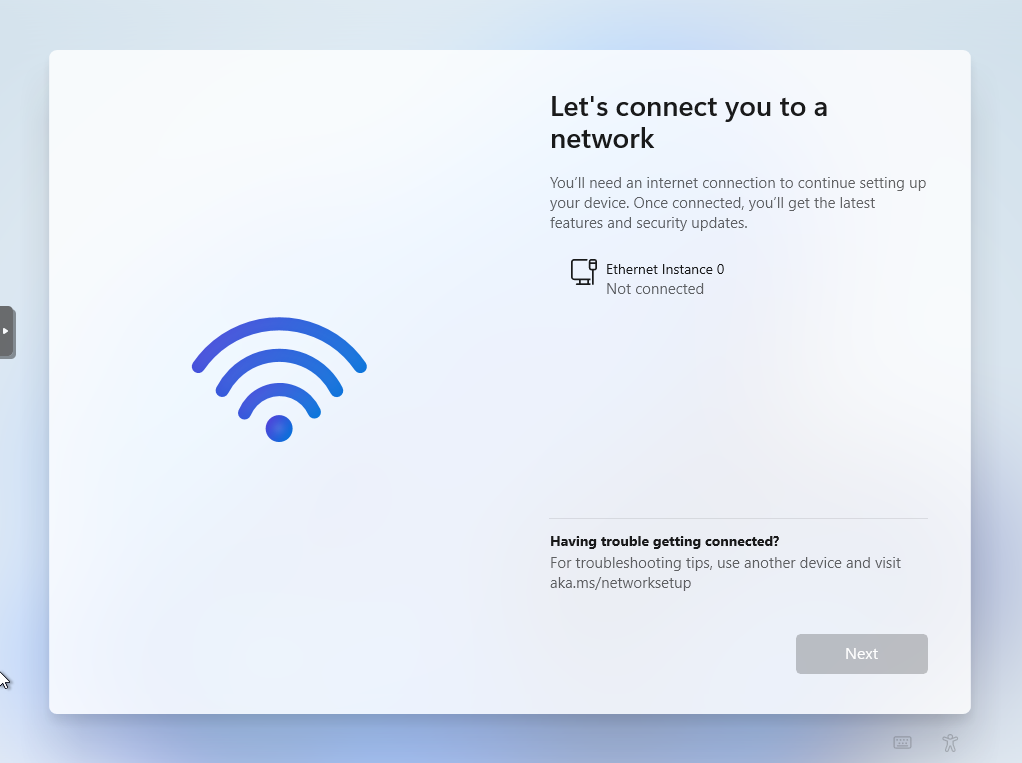
  8. Hold the Shift key on your keyboard and press F10 at the same time. This will open a command prompt window where we can change the Out Of Box Experience (OOBE). The same Windows 11 Setup screen as the previous image, however the windows command prompt is an open window on top of the screen. The command prompt window is black, and by default is in the “C:\WINDOWS\system32\

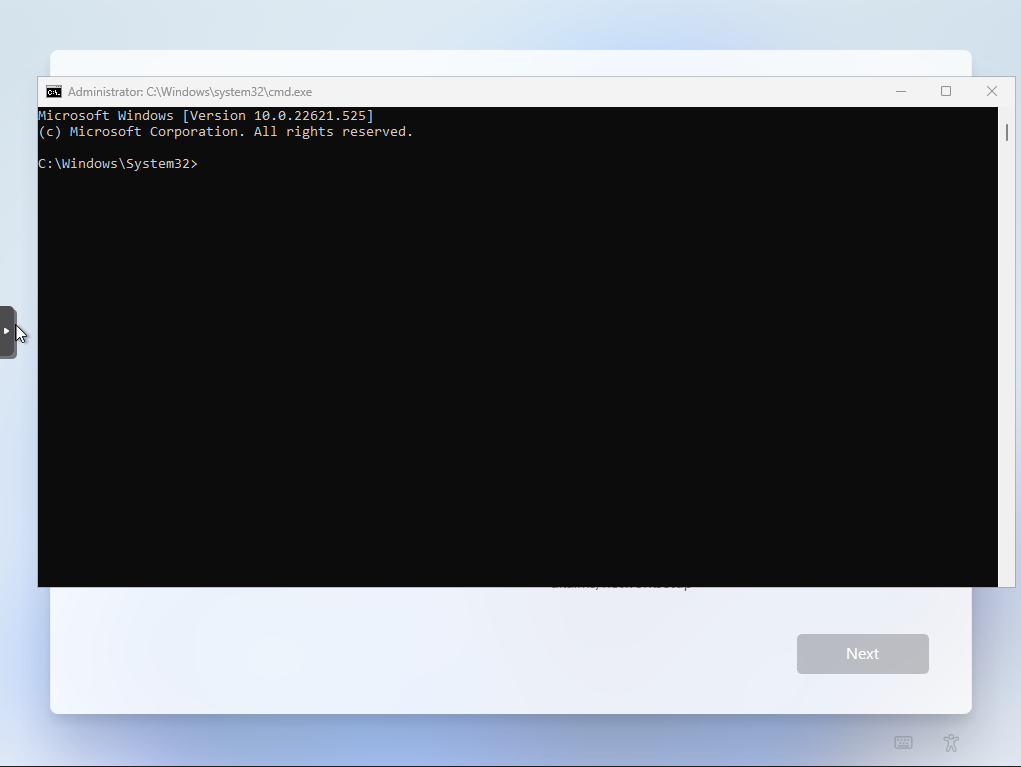
  9. Click in the command prompt window, and type the following command:

    OOBE\BYPASSNRO

    Windows command line isn’t case sensitive so it doesn’t matter if you put the command in uppercase, lowercase, or mixed case


    The same command prompt window as previous, that has the command “oobe\bypassnro” entered.

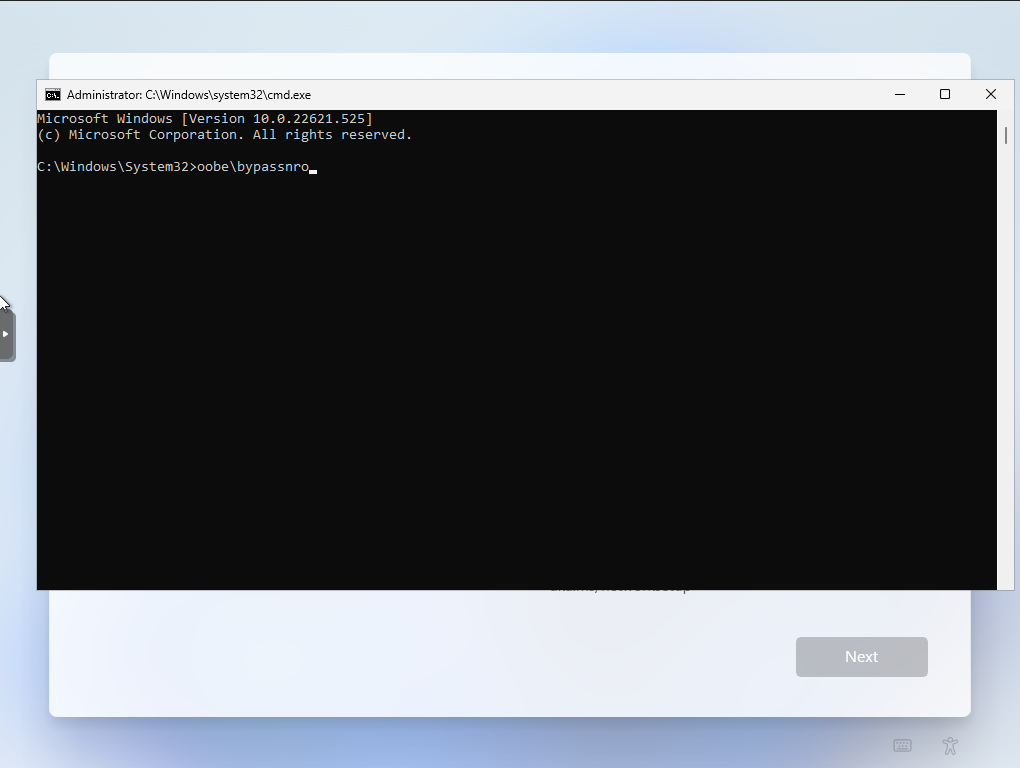
  10. Press enter when done and your computer should reboot. Windows 11 screen displayed while restarting. It’s a black screen with white spinning dots with a message that says “Just a moment…

    If your computer doesn’t reboot, check that you entered the command into the window exactly as shown above and try again.


    Now when your computer restarts, it will continue with the Windows Setup but it will no longer complain about not having an internet connection.

  11. Confirm your Country again.
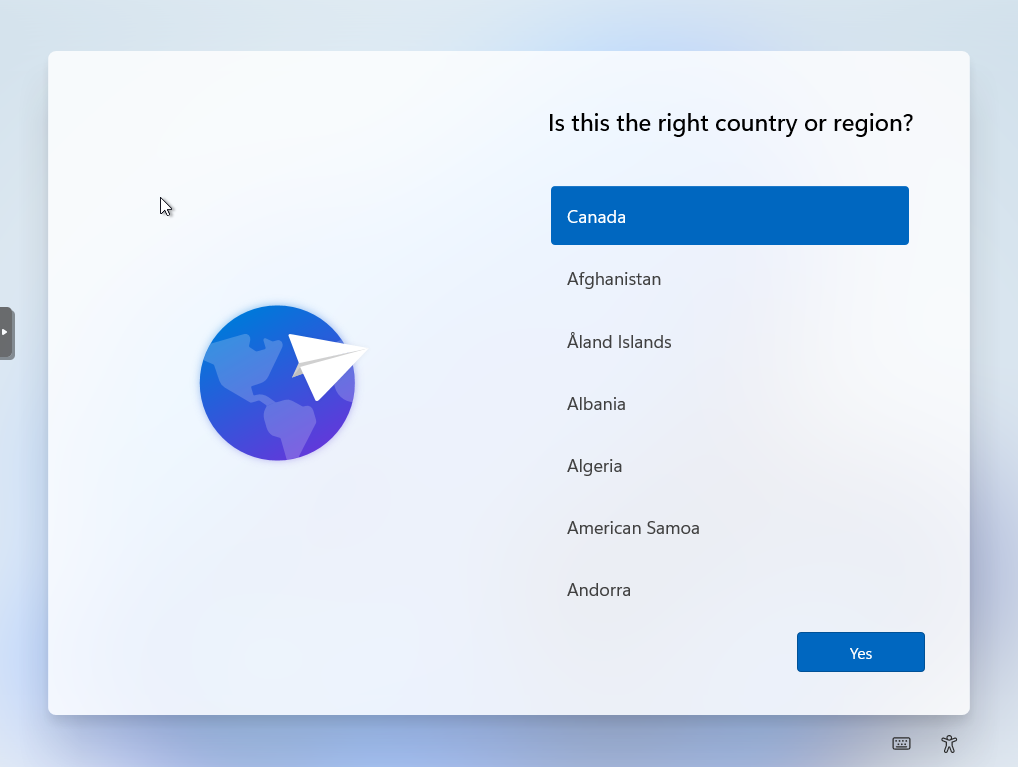
 Windows 11 Setup screen to choose the country or region. The screen is titled “Is this the right country or region?” The top of the list is the country chosen previously during setup, in this case “Canada”. Canada is highighted in blue.

  12. Choose Keyboard. Windows 11 Setup screen to choose the keyboard layout for the system. The screen is titled “Is this the right keyboard layout or input method?” “US” is selected and highlighted in Blue, while other options are “Canadian Multilingual Standard”, “English (India)”, “Irish”, and “NZ “Aotearoa”.

  13. Add or skip the second keyboard layout as needed. Windows 11 Setup screen titled “Want to add a second keyboard layout?”. The two options are “Skip” highlighted in Blue, or “Add layout”.

  14. Now on the “Let’s connect you to a network” screen there’s another option called “I don’t have internet” next to the “Next” button. Click on “I don’t have internet”. Windows 11 Setup screen titled “Let’s connect you to a network.” Unlike the previous version of this screen, there is now an additional option titled “I don’t have internet”. A red rectangle has been added to the image around that option.

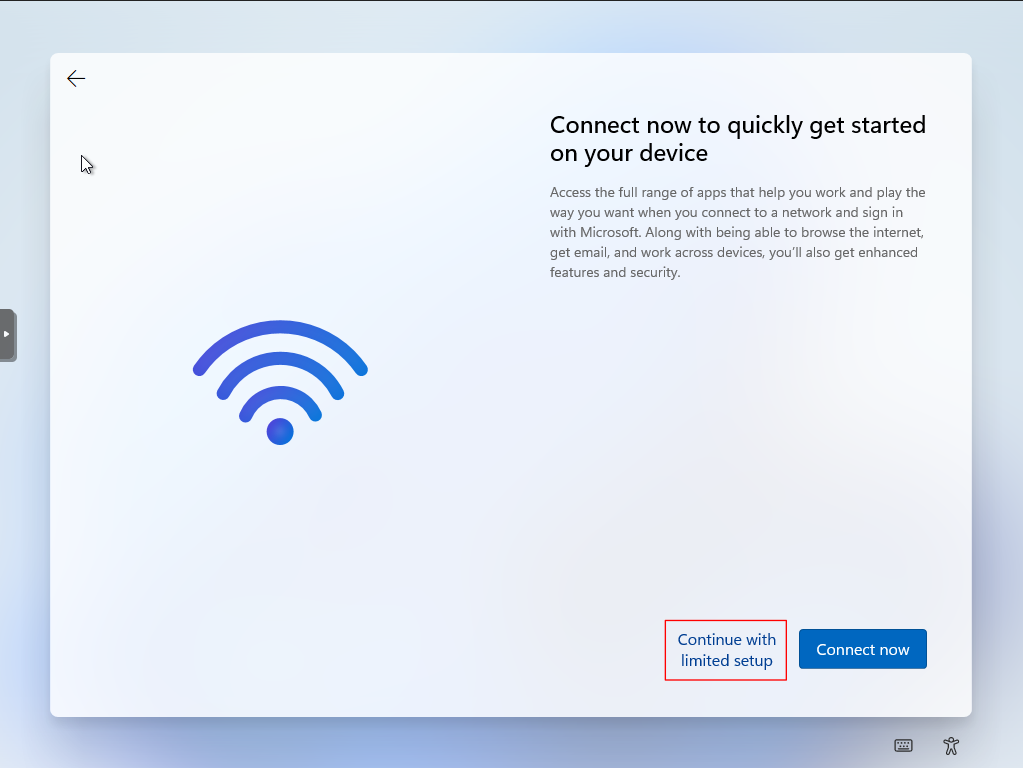
  15. Click “Continue with limited setup”. Windows 11 Setup screen titled “Connect now to quickly get started on your device”. There are two options in the lower right. The first is “Connect Now” highlighted in blue. The other option is “Continue with limited setup”. A red rectangle around this option has been added to the image.

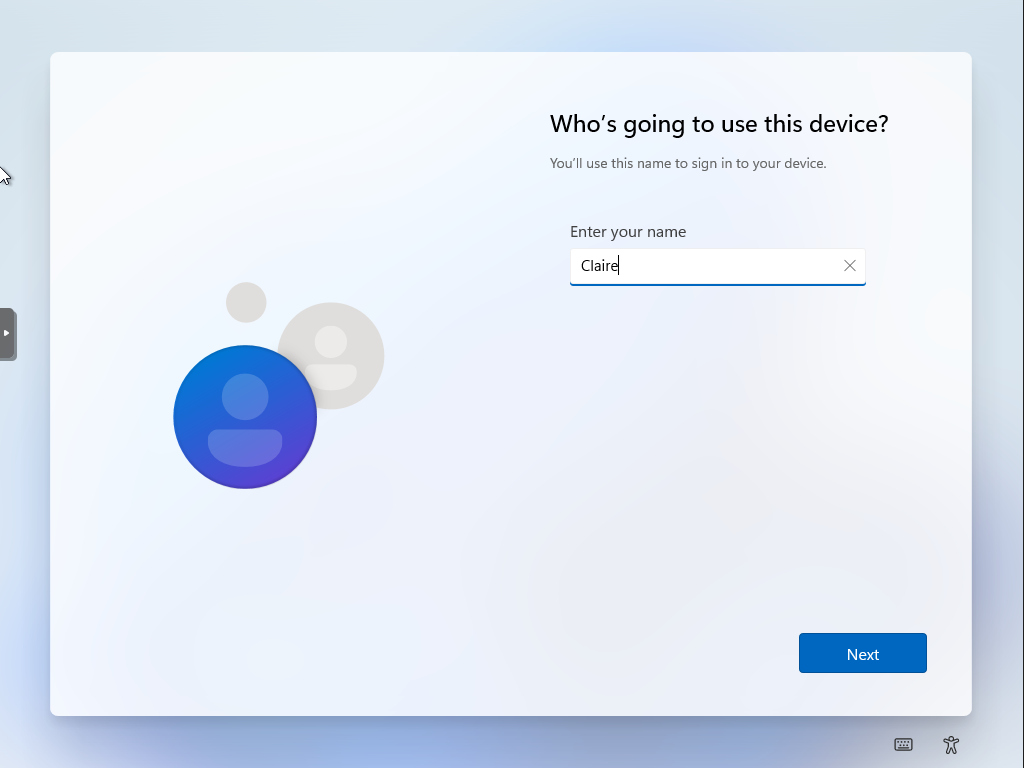
  16. Enter in the name you want for the local user account. Windows 11 Setup screen titled “Who’s going to use this device?” The input box is titled “Enter your name” and the name “Claire” is currently entered into the field.

  17. Enter a password. Windows 11 Setup screen titled “Create a super memorable password” the input box is titled “Enter a password” and has a number of black dots in the field because of the password that has been entered.
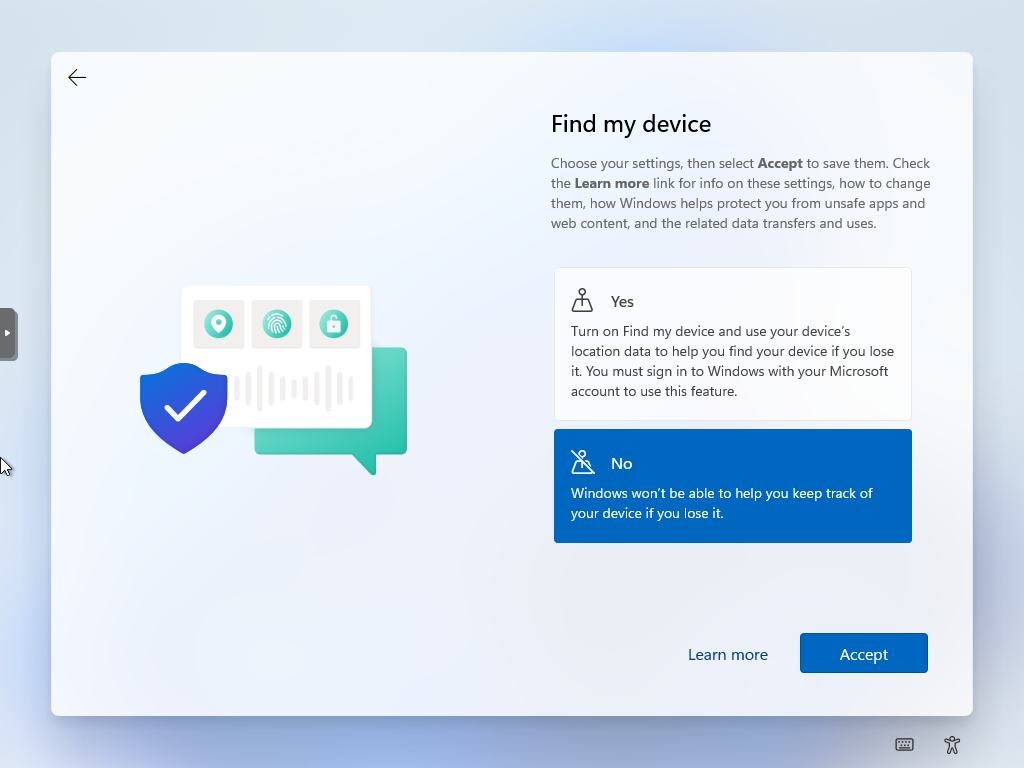
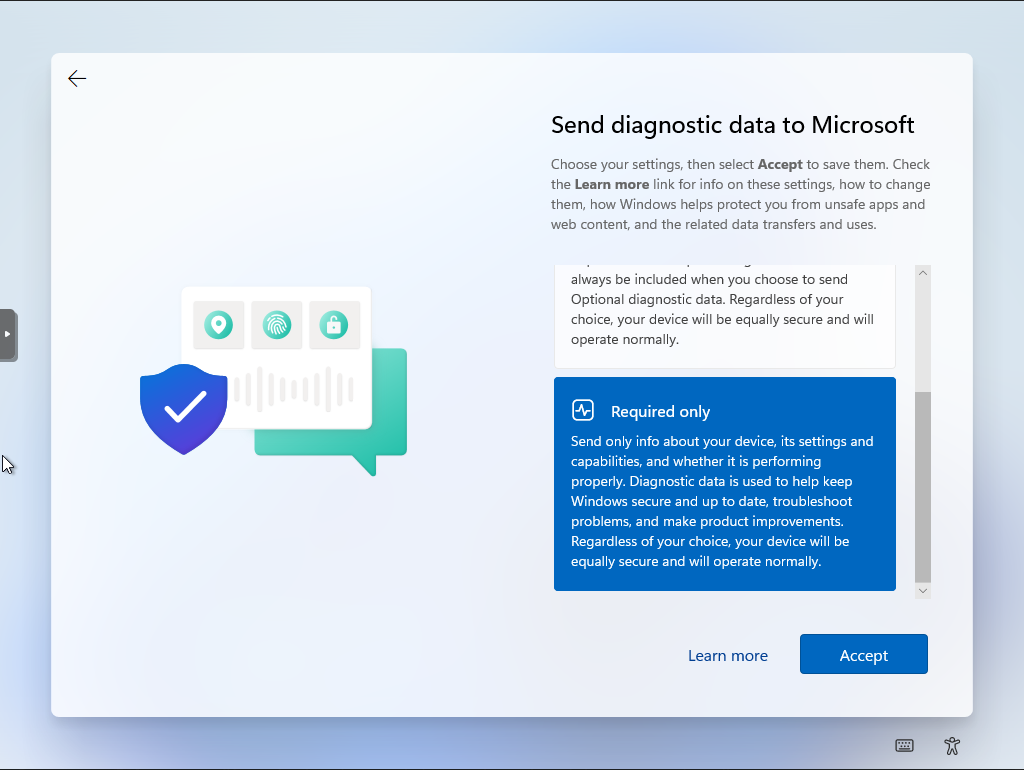
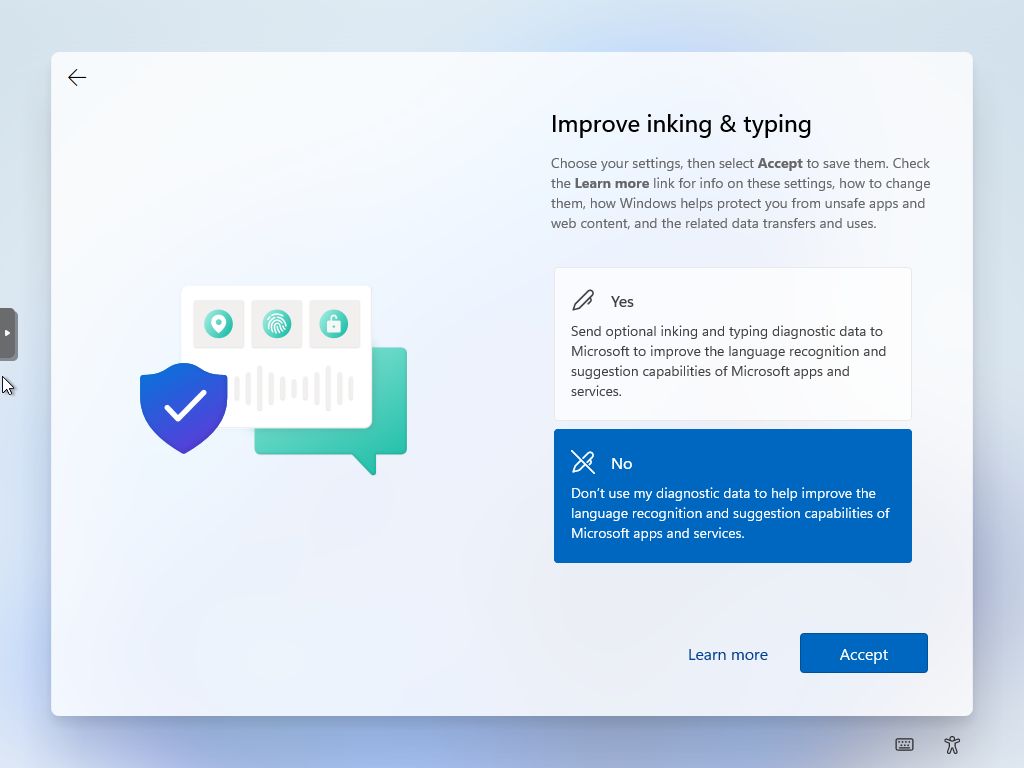
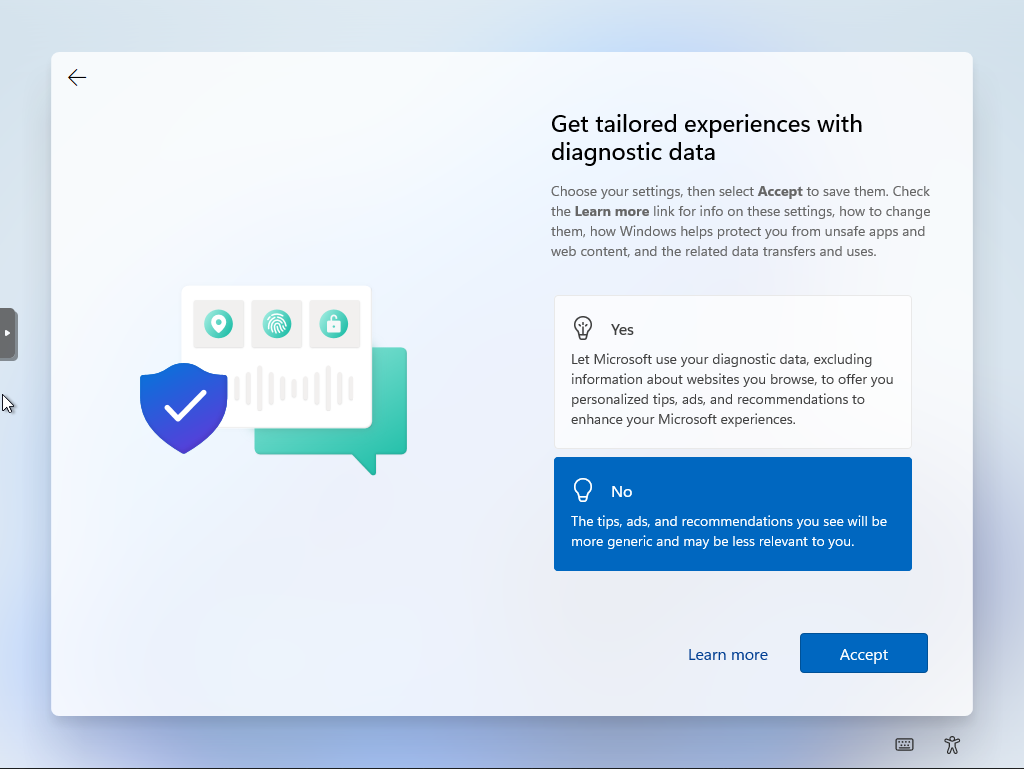
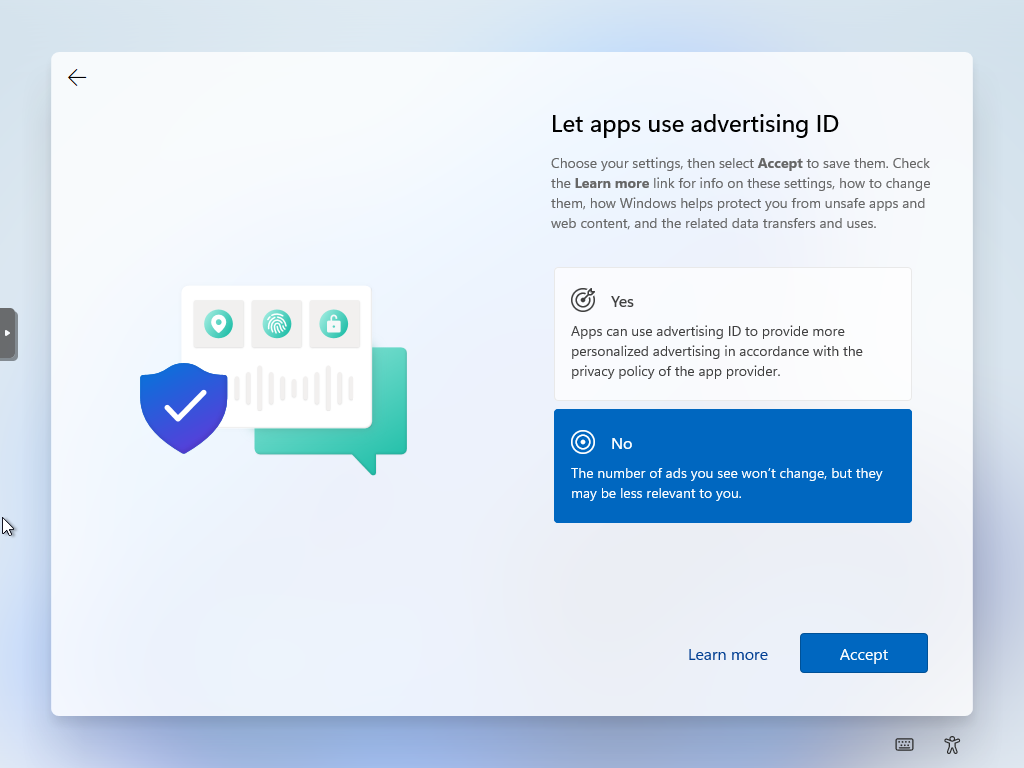
    Bonus: Turn Off/reduce all the Microsoft tracking nonsense during the rest of the setup process. Windows 11 Setup screen titled “Let Microsoft and apps use your location”. There are two choices, “Yes” or “No”. No is chosen, The option to move forward is labelled “Accept” and is highlighted in blue
    Windows 11 Setup screen titled “Find my device”. There are two choices, “Yes” or “No”. No is chosen, The option to move forward is labelled “Accept” and is highlighted in blue
    Windows 11 Setup screen titled “Send diagnostic data to Microsoft”. There are two choices. Only one choice “Required Only” can be seen as the options are scrolled down. Required only is chosen, The option to move forward is labelled “Accept” and is highlighted in blue
    Windows 11 Setup screen titled “Improve inking & typing”. There are two choices, “Yes” or “No”. No is chosen, The option to move forward is labelled “Accept” and is highlighted in blue
    Windows 11 Setup screen titled “Get tailored experiences with diagnostic data”. There are two choices, “Yes” or “No”. No is chosen, The option to move forward is labelled “Accept” and is highlighted in blue
    Windows 11 Setup screen titled “Let apps use advertising ID”. There are two choices, “Yes” or “No”. No is chosen, The option to move forward is labelled “Accept” and is highlighted in blue

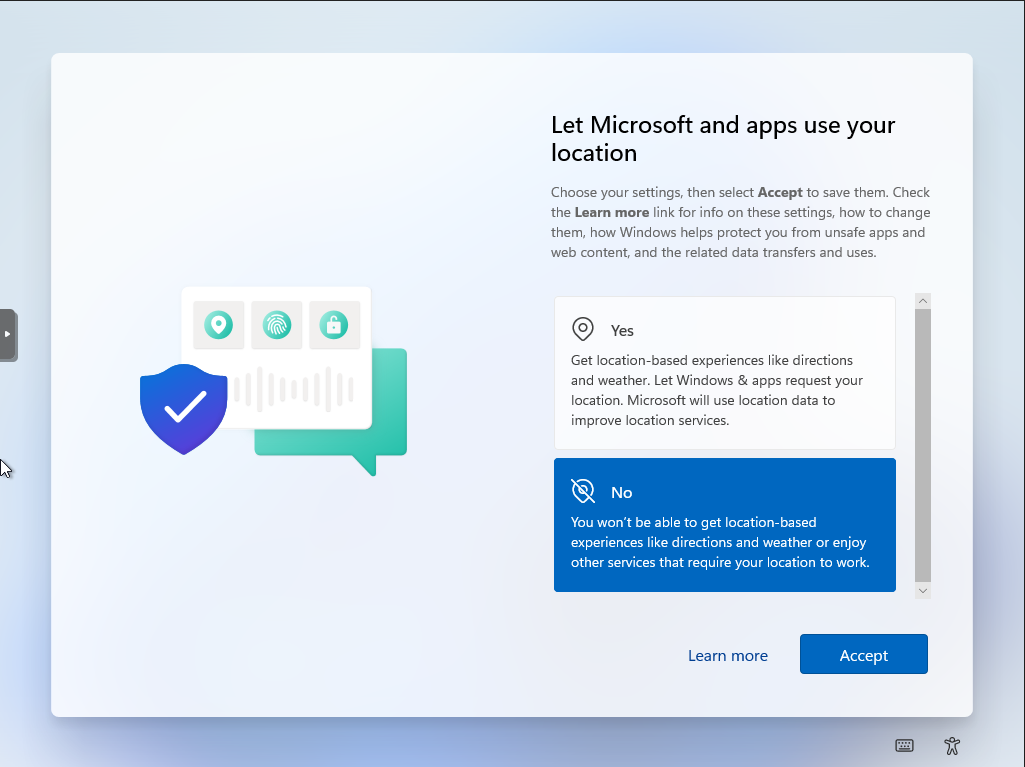
  18. When you’re finished, you should see the next couple of screens while setup finishes. Be patient as it might take a few minutes. Black screen that has the word “Hi.” in the center of the screen in white text.
    Black screen with a dark blue round spotlight gradient in the center. The text “Good things coming your way. is in white in the center of the screen. The text “Don’t turn off your PC” is in slightly smaller white text centered underneath.
    Black screen with a dark blue round spotlight gradient in the center. The text “Please keep your PC on and plugged in.” is centered on the screen in white text. The text “Don’t turn off your PC” is in slightly smaller white text centered underneath.

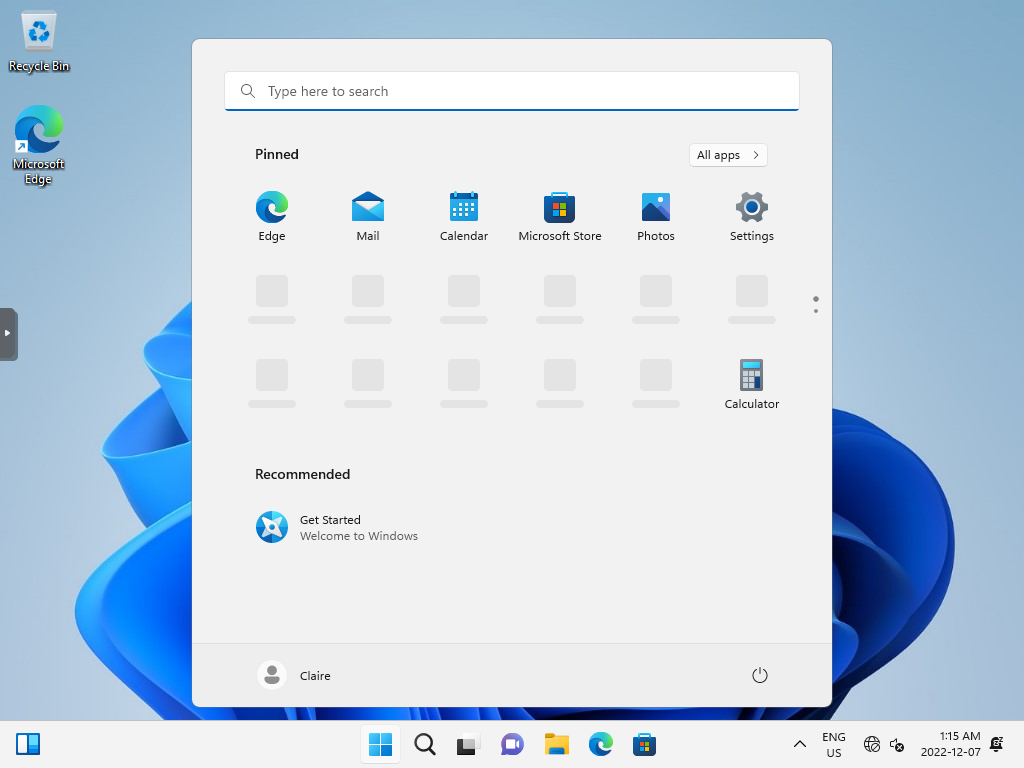
  19. Eventually, setup will finish and you’ll be presented with your new desktop, logged in WITH your local user account! Windows 11 initial screen following sucessful install. There is the main desktop with the “start menu” opened in the center of the screen.

If you have any questions/comments please leave them below.

Thanks so much for reading ^‿^

Claire

If this tutorial helped you out please consider buying me a pizza slice!