Creating a Bootable Ubuntu UEFI USB Drive
Creating a boot USB for UEFI is super easy. Follow this step by step guide to create your own.
Table of Contents
Before you begin there are a few things you’re going to need:
- USB drive you don’t mind erasing (>8GB in size)
- ISO file for the OS you want to make bootable
- We’re going to use Ubuntu 18.04.1 for this example from Ubuntu.com,
but the exact same method can be used for a Windows 7+ ISO, you just need the ISO file so you can extract the contents
to your USB drive
- Updated February 24, 2019: Creating a bootable USB for the October 2018 update for Windows 10 can no longer be accomplished using the below instructions. Please see the tutorial Creating a Bootable Windows 10 UEFI USB Drive Using Linux for updated information.
- We’re going to use Ubuntu 18.04.1 for this example from Ubuntu.com,
but the exact same method can be used for a Windows 7+ ISO, you just need the ISO file so you can extract the contents
to your USB drive
- 7-zip installed
Formatting the USB Drive
-
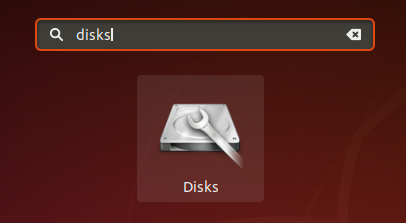
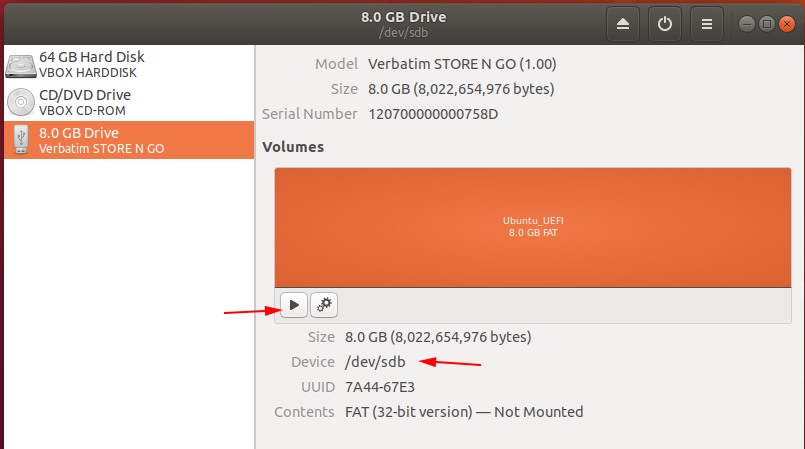
Insert your USB drive, then open the “Disks” utility
-
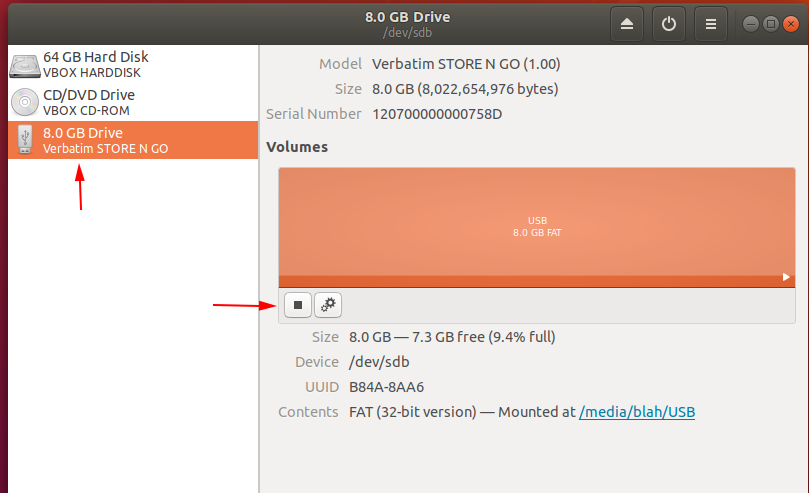
Choose your USB drive from the available drives on the left then click the stop button to unmount the drive
-
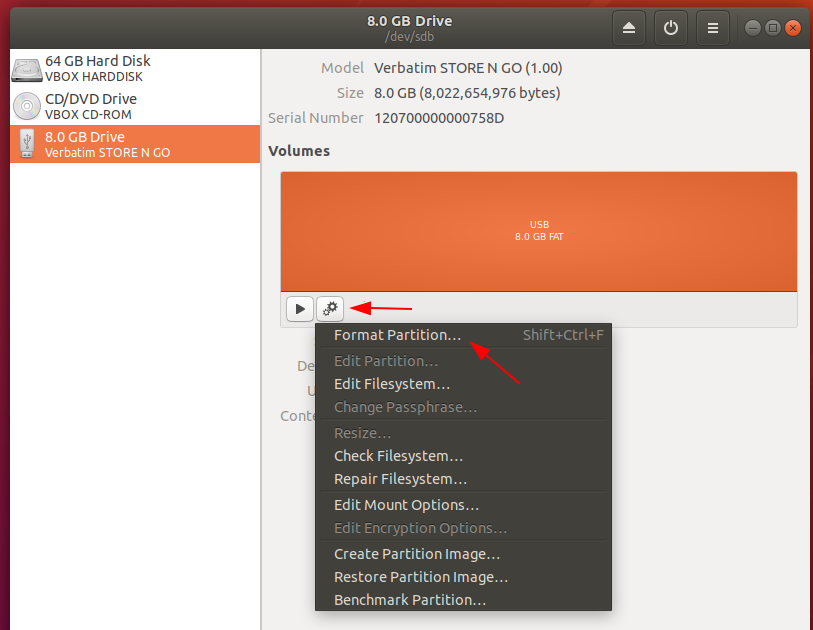
Click the “gear” icon and then click Format Partition
-
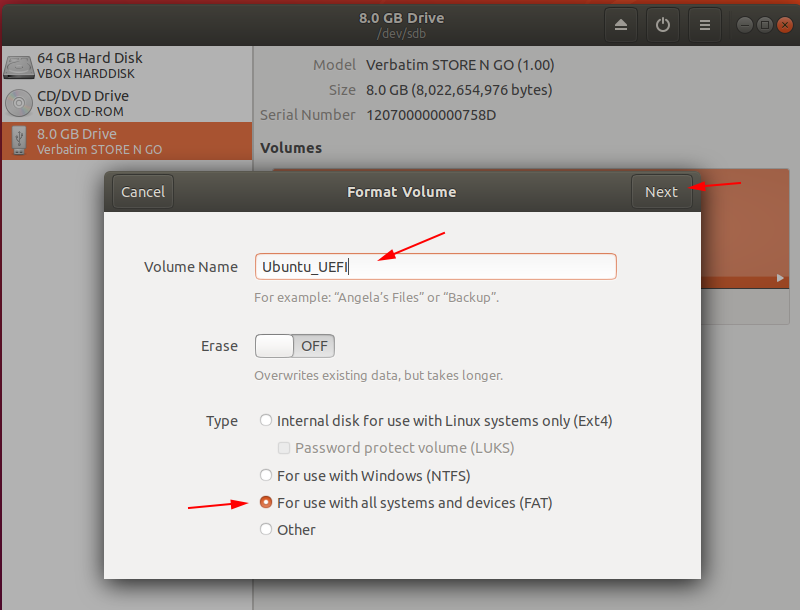
Give the volume a name. Spaces are allowed but sticking with underscores (_) and hyphens (-) will make things easier to reference from the command line. Let’s give it the name of “Ubuntu_UEFI”. Make sure the “FAT” option is chosen, then click Next
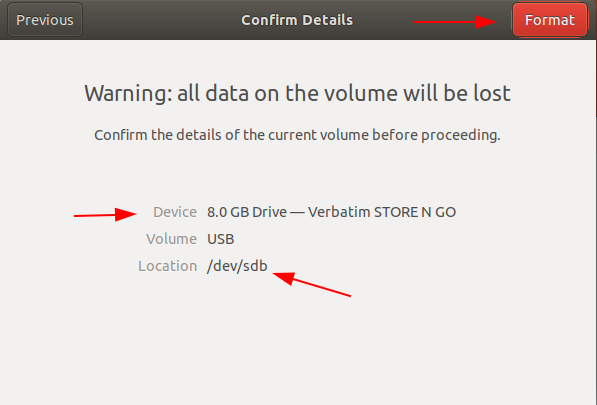
WARNING
Clicking “Apply” on the following screen WILL delete ALL data on the selected partition. Ensure the correct drive/partition is chosen as choosing the wrong drive WILL DELETE ALL DATA on that drive. You have been warned.
-
A summary warning screen will appear asking you to confirm the details. When you are ready click “Format”
-
When the format is complete you can click the “Play” button to mount the drive
Creating the UEFI Bootable USB
Now that we have a freshly formatted FAT USB drive, we can proceed to creating the UEFI bootable USB
-
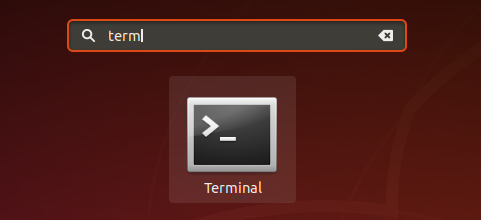
Open a terminal window
-
Before we copy the files to our USB stick using 7-zip (‘7z x’ command), let’s display our USB drive info and Downloads folder listing so we have an easy reference
$ df -h | grep -i media
$ ls ~/Downloads
$ 7z x ~/Downloads/ubuntu-18.04.1-desktop-amd64.iso -o/media/blah/Ubuntu_UEFI/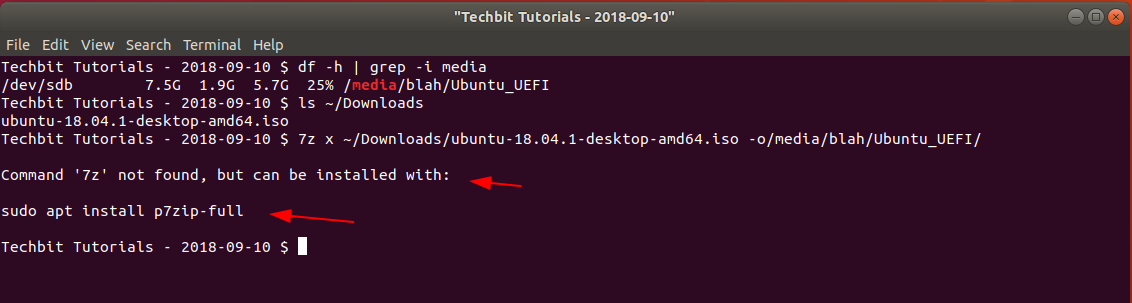
-
Looks like 7-zip is not installed on this system. That’s ok, let’s go ahead and install it now with the following commmand:
$ sudo apt install p7zip-full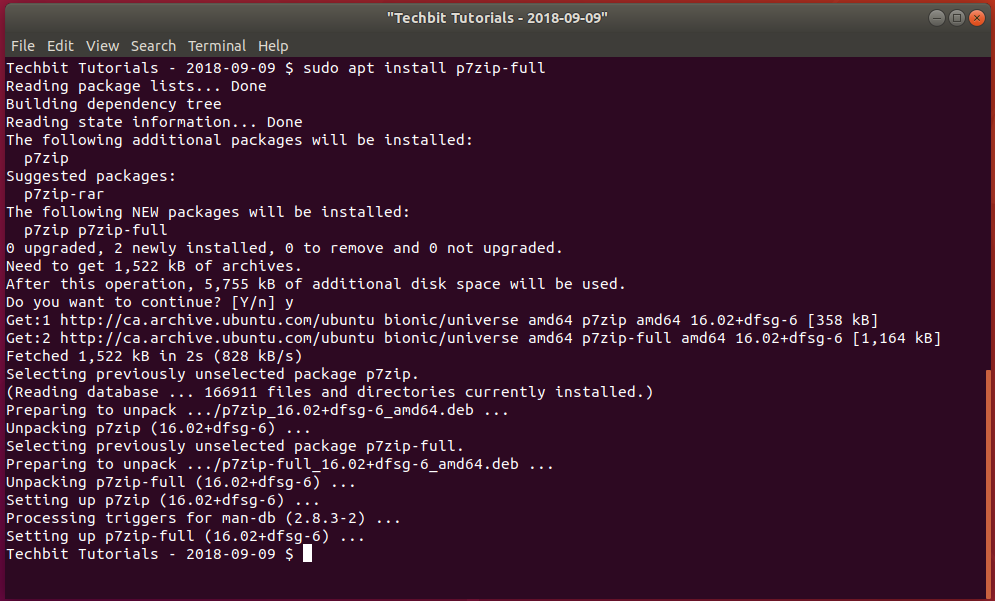
-
Now let’s run our extract command again and we should receive a status screen from 7-zip for the extracting files
$ 7z x ~/Downloads/ubuntu-18.04.1-desktop-amd64.iso -o/media/blah/Ubuntu_UEFI/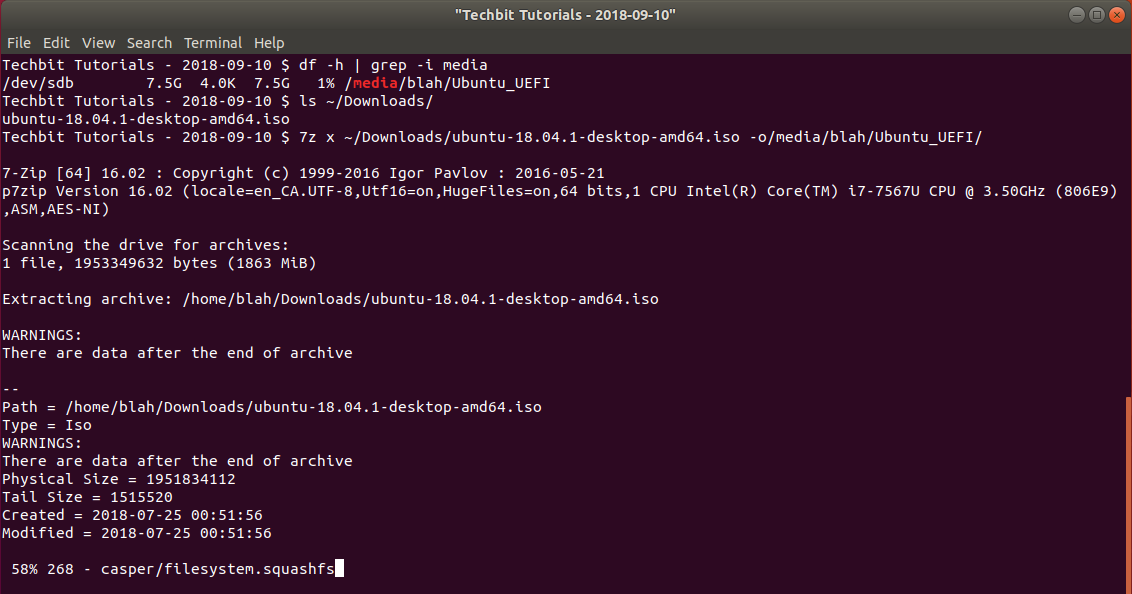
-
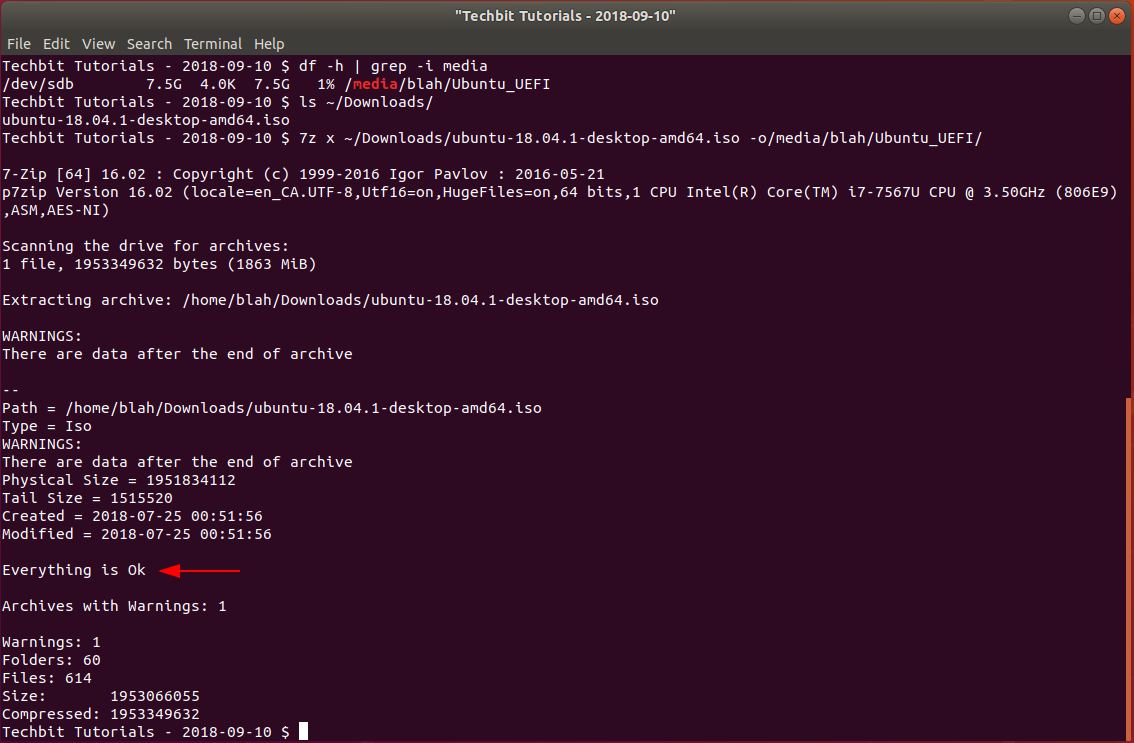
After the extraction is finished you should see the message “Everything is OK”
-
Check to see if the USB drive now contains files with the ‘ls’ command
$ ls -la /media/blah/Ubuntu_UEFI/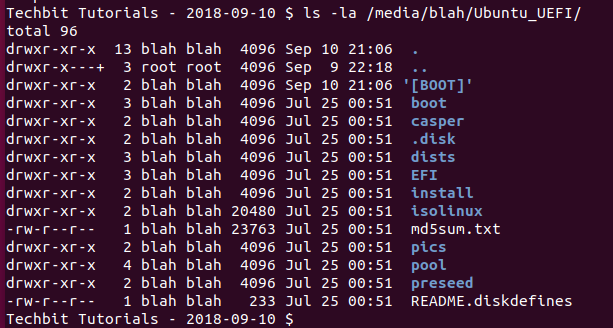
Congratulations, you should now have a UEFI bootable USB Drive built of a Ubuntu 18.04.1 OS : )
If you have any questions/comments please leave them below.
Thanks so much for reading ^‿^
Claire
If this tutorial helped you out please consider buying me a pizza slice!